The Pink Tower

The Pink Tower

A material I wanted right off the bat when I started homeschooling was the Pink Tower. It is iconic, well known, easily recognized. A Montessori space should have a Pink Tower right? It took me three years to finally decide to purchase a pink tower. Before I did so I did a lot of reading and research about how I could make the material myself. I want to share today why I decided this was one material that is not worth making yourself.

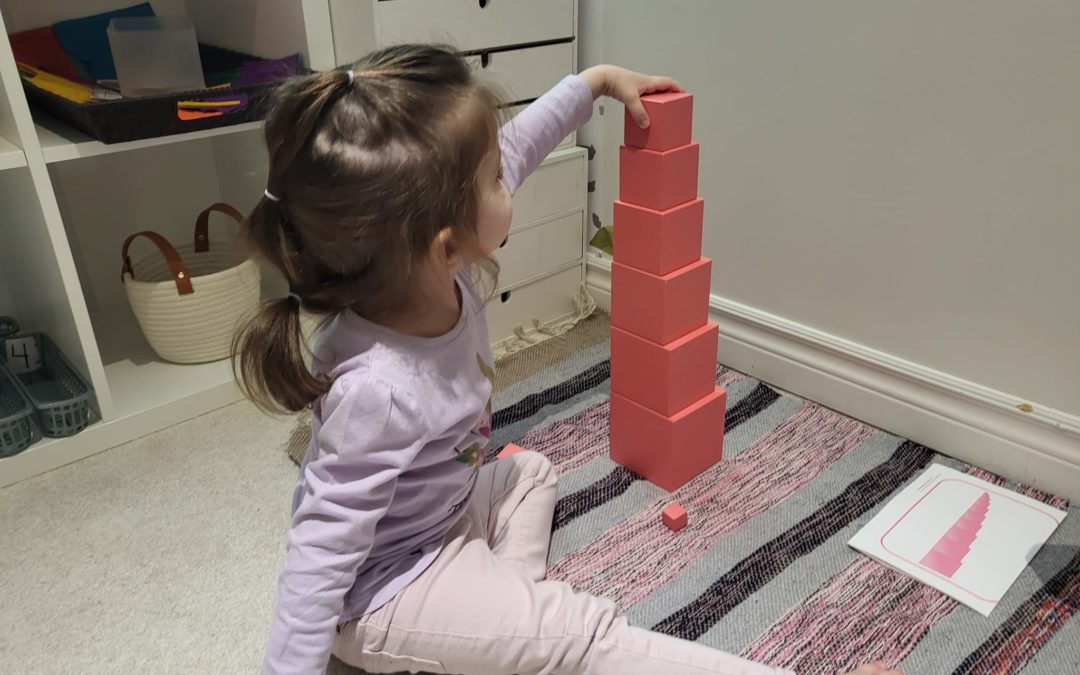
So to start, what is the Pink tower and what does it do? It is one of Maria Montessori’s sensorial materials. It is used to teach visual discrimination of size. Like me you may think oh great, I can use any nesting blocks and they would function in a similar way. However there is much more to the pink tower than just size discrimination! Firstly when you pick up the largest block of the tower you will notice right away that is has quite a bit of weight to it. It weighs much more than the smaller blocks in the set. The blocks do not only differ in size, they differ in weight in a way that is very noticeable. Much more so than with hollow nesting blocks. When a young child carries the blocks to their workspace they can feel the difference in size as much as they can see it. The size differences is also significant. They do not just become gradually smaller. The smallest block is 1 cm where the largest block is 10 cm. A child can check if their work with the Pink tower is correct by placing the smallest cube upon each level of the tower and seeing if it fits. The pink tower is an exact match in size to the brown stairs so the materials can be used together. This material also is an indirect introduction to some math concepts that the child will use later in their education such as the decimal system! My point is that painting a nesting blocks set pink simply will not recreate this material and it will not be useful in the long term.

So I moved on to trying to decide if I could make it myself with solid wood. I considered this for a long while, and my husband and I discussed how we would do it and what tools and materials we would need. We quickly realized that we were not equipped for the precise nature of this material and it would be no easy feat with our limited resources. At this point we decided that we would purchase the material if we deemed it necessary.

We bought it for the children last year for Christmas. They were drawn to it immediately. My then four year old commented that he loved feeling the blocks. He couldn’t express what about them appealed to him but I believe it was the weight as he often picks up and admires the largest block in the series. However as much as he admires it, he never uses it. He compared the different cubes to other materials that he realized matched exactly such as the brown stairs and the table of Pythagoras. Then after the satisfaction of those discoveries ignored the tower forevermore. Little Miss who is two and a half and closer to the correct age the tower was designed for finds much more joy from the tower. Nearly every day she constructs the tower, says to herself, “I did it” and returns it to the shelf. Every time we tidy the playroom she ensures that the tower is properly arranged and most days points out that its pretty, or it looks just right. She adores the pink tower. It will be interesting to see how much use the tower receives in the next year as Little Miss gets older and starts to receive introductions to other materials in our homeschool inventory. I am excited to see her make the connections that her brother did in a more graduated way, as she is not previously familiar with the materials as he was when we purchased the tower.

My final review is this. If you want the Pink Tower then purchase it early on. Any diy will be expensive and challenging. If you wait to purchase your child likely will not get too much use from it. As always if your child attends a Montessori school avoid purchasing any of the materials as it may be confusing, and is unnecessary. However if you homeschool like me, then the Pink Tower is a beautiful addition. Not mandatory, but lovely nonetheless.
K.I.S.S.

K.I.S.S.

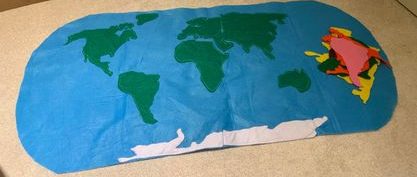
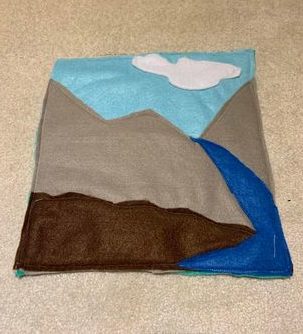
I think by now my love for felt has become pretty evident. I use it often in my materials and I find it incredibly versatile. The fact that I can often find it at my local dollar stores makes it even more appealing to me. Besides the low price tag and versatility it is also extremely easy to store! The felt mat I have pictured in this post was an activity that I made to accompany our land, air and water impressionistic lesson. After my children and I had sat down and discussed what was land, what was water, and what was air I realized that they were still very interested in exploring the concepts but the impressionistic lesson did not leave much for them to work on independently. So I spent twenty minutes with my sewing machine creating a simple mat that depicts some land, some water and a little dash of the sky. I did not include any trees or bushes purposely to extend the usefulness of the material, I had in mind already an extension I could use it for when we started exploring animal habitats. The mat has since been used with our original jars that show land, air and water. It has been used with small animal figurines, and vehicle figurines. It has been used with our colour tablets for identifying and matching colours. It has joined our blocks as a simple invitation to play. It has been hung behind a simple dinosaur invitation to play as a back drop. This quick little DIY is a reminder that sometimes simple is the most beneficial. If I had added much more complexity to the mat then I would have lost so much versatility. The reason it is so useful is because it is so plain.
Whenever I am planning on purchasing or creating a material I try to keep in mind the saying my Dad used to tell me on occassion, the KISS principle (Keep It Simple Stupid). Its a funny little saying but it honestly holds a lot of truth in four words. Keeping it simple, keeps it open. I actually forgot this principle when I made my second felt mat for my children after this one was such a hit. I made an underwater scene complete with coral and vibrant colours. I noticed my children were not using it much at all and then I realized something. It was way too specific. It did not work as anything more than a play mat for toy animals because it was so zoomed in to a specific scene. That coupled with the fact that the sea creature figures we have would not live in such a habitat made the mat basically useless. I forgot to keep it simple and the result was a waste of my time, and my felt. For now that felt scene is kept on my desk while I try to brainstorm a way to use it. I may end up adding some more details and adding it to my continent boxes, further minimizing its utility but at least giving it a function.
I think sometimes when looking at homeschooling, Montessor at home, or parenting in general we have a tendency to overcomplicate things. I often see posts on my facebook groups asking how to extend a child’s interest in door knobs, or replicate an opening and closing activity because the child loves to open and close cupboards. As much as I love to create DIYs and extend activities I think this is another area to consider how you can KISS. If a child is fascinated by door knobs then you do not have to do a thing. Sit back and watch them examine the doorknobs that are conviently installed all around your house. Maybe point out some other kinds of door knobs while on an outting. You do not need to replicate it in the form of an activity especially since this would not be an activity that would last very long at all. If a child has a skill or an interest and they have found a safe way to satisfy the desire to explore it on their own, then in most cases it is more valuable to let them do that, than it is to create your own way to do the same thing. Unless there is a safety concern, let the child explore what they have found works to satisfy that curiousity!
Great Expectations

Great Expectations

When my husband and I first seriously started discussing starting a family I immeditately started forming expectations and imagining what my child would be like. We had already selected a name before we even found out that I was indeed expecting. We had already spent hours discussing how we would set up the home for a child, how we would discipline, and how we would eat once the baby was born. My husband and I still laugh each time we pass happy meals back to our kids while leaving the drive through. We vividly remember the moment we said we would probably have to stop eating fast food any time now because our son was nearly the right age for solids.

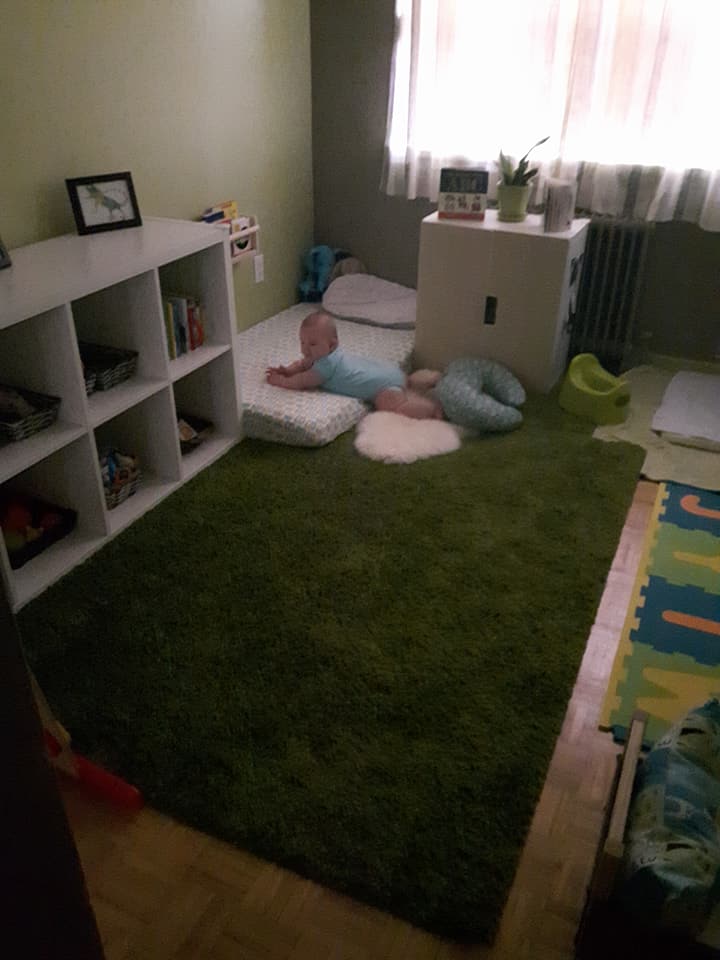
I am getting ahead of myself here. Back to when I was pregnant and wanting to set up the perfect Montessori space for first child. I had these ideas of a kid friendly home where my son could explore and have a yes space. Where he would not need any play pens or cribs. I wanted to do a floor bed from birth, and planned to only have the beautiful Montessori alighned toys available to my little man. It didn’t take long for those expectations and aspirations to crash into my reality. We lived in a teeny three bedroom apartment with three cats. Our bathroom barely had enough room to turn around in let alone set up a changing and toileting area for a baby. Our kitchen had enough room for one adult to cook or clean, and honestly barely enough space for that. There was no room for a learning tower. No space for stools or low seats, or even low hooks to hang his little sweaters on. We decided to do the best we could with what we had available. We had recently been students and our second bedroom had been set up with computers, desks and books. We moved these to our bedroom to make space for a nursery. We painted and filled the nursery with the furniture we could afford, which was not exactly what I had envisioned but it served its purpose.

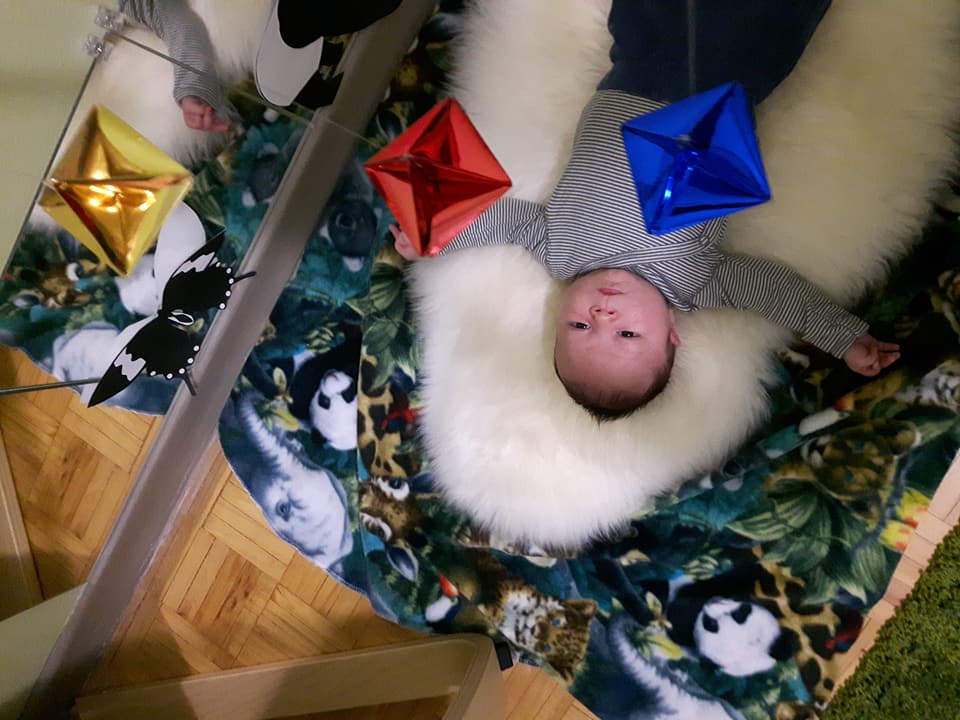
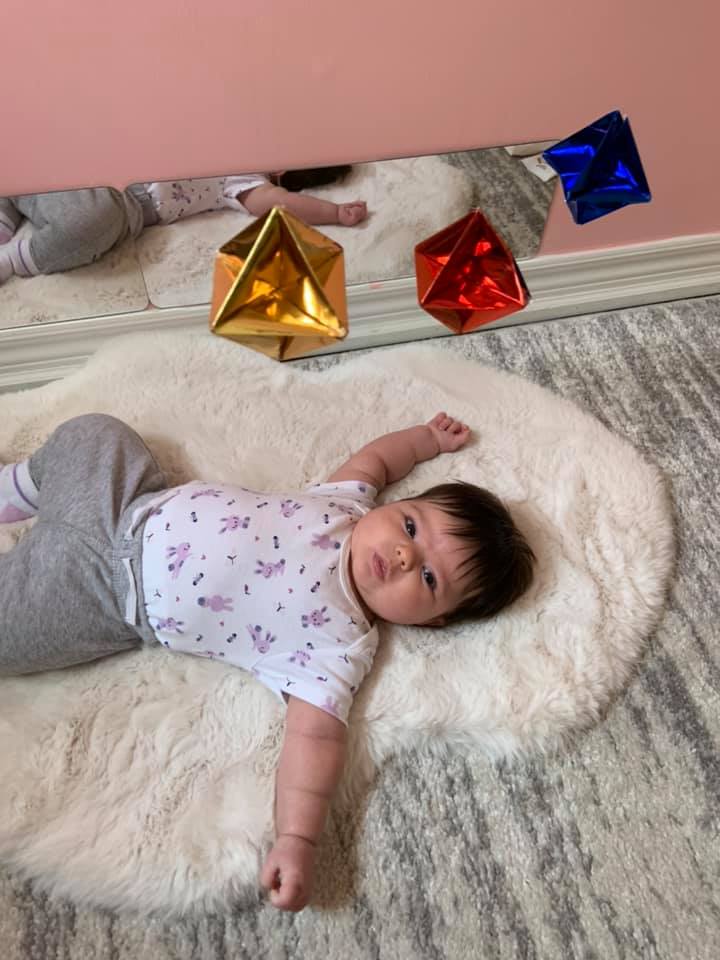
The beautiful mobiles that I had been hoping to hang for the first weeks of my sons life were extremely expensive, and the shipping for them was absurd. I realized that there was no way we would be getting them. This was my first DIY project for my son. I made him the Munari, the Gobbi, the Dancers and the Octahedron mobiles. I was honestly not at all satisfied with how they turned out. I wanted to offer my child the best, and I did not feel like these met that expectation. We recieved many beautiful gifts at my baby shower which filled the empty room and soon my son’s space was complete. It was mostly Montessori I told myself and I knew that more than the room and the things, it would be about how we parented this little guy.

I planned for a medication free, natural birth. Well my water broke early one morning and by the following morning my labour still had not started and we found out that I would have to be induced with medication. It jump started my labour, it was intense and quick and I still had my (mostly) natural and (mostly) medication free birth that I had hoped for. The moment that stands out to me is when my son was lifted up for me to see and I looked at him and was surprised that I didn’t recognize him. It should have been obvious, I had never met this little person before, but I realized later that I even had expectations of what he would look like and this contributed to my surprise.

When we brought the baby home things went mostly as I expected. We did the things we had planned on like baby wearing, skin to skin, tummy time and so on. I struggled and cried through breastfeeding. I had expected it to be a lot easier than it was, I had envisioned these beautiful moments of bonding and admiring the baby. What I got instead was awful pain, bleeding, and dread. I did not want to feed him. I found myself trying to stall and wanting to avoid feeding him. I realized I would have to pump instead because I was so tempted to wait and skip feeds. After a few weeks of exclusively pumping I realized it didn’t hurt anymore and we switched back to breastfeeding directly. It was not what I had imagined but I realized how thankful I should be that it was (mostly) working out the way I had hoped.

I did not want to bedshare. It was dangerous right? I was sure we would room share, but never ever bedshare. Well, one night I was holding my son on my lap and I started to doze off. It was not more than a moment or so but he slid and woke me. He was fine and safe but it made me realize how much more dangerous it was to be trying to stay awake in the night when he woke. We carefully rearranged our sleeping arrangements and my son started sleeping beside me. I am not by any means advocating for bedsharing, nor am I advocating against it. What I am saying is that it worked for us at the time, and we did what we needed to do, regardless of what we had hoped to do.

This trend continued in a lot of ways throughout my parenting journey so far. I had my ideas and expectations and what ended up happening, and how we ended up parenting was mostly aligned. I learned pretty quickly that I could not control my child’s experience, and all I had control over was my own reactions (mostly).

Let’s fast forward to my second baby. We were living in a bigger home now and this baby had her nursery set up exactly how I had hoped. I still used my hand made mobiles though. We knew this time around that we would be co sleeping and planned for it. Breastfeeding was easy with my daughter, but I was so busy that half the time I didn’t soak it up, I just rushed through. We had our bathrooms set up for children now, low furniture for them, hooks for their little sweaters, and a playroom dedicated to their learning and development. We had our learning tower in the kitchen, and the Pikler triangle I coveted in our basement. I think you could say we met majority of my hopes and expectations the second time around.

Now here is the big point of all these stories. I didn’t see any big difference in the way my daughter developed as compared to my son. She had the stuff, she had the environment. Yet I essentially parented her the same way. My son is 4.5 and my daughter is 2 now. We have already given away the learning tower, they prefer chairs. We are trying to sell the Pikler triangle, they don’t use it. We are considering having them share a bedroom because they do not use their carefully cultivated bedrooms for anything but sleeping. I will say that the low hooks for their little sweaters have come in handy, we still use those (mostly).

I guess one of the biggest lessons I have faced since my children were born is that I need to manage my expectations. I can have aspirations, and ideals for sure, but they cannot hold so much power over me. I think it is a battle I, and many others will fight our whole parenting journey. We have our ideas about how things will go, and then we have reality to face. It is a feeling that I like to keep close when I find my children fighting over things like Little Miss knocking down Mr Man’s block castle. He had expectations and goals and reality made them come crashing down. It is hard work for people of any age to manage expectations and yet it is also so crucial.

All Weather Play

All Weather Play

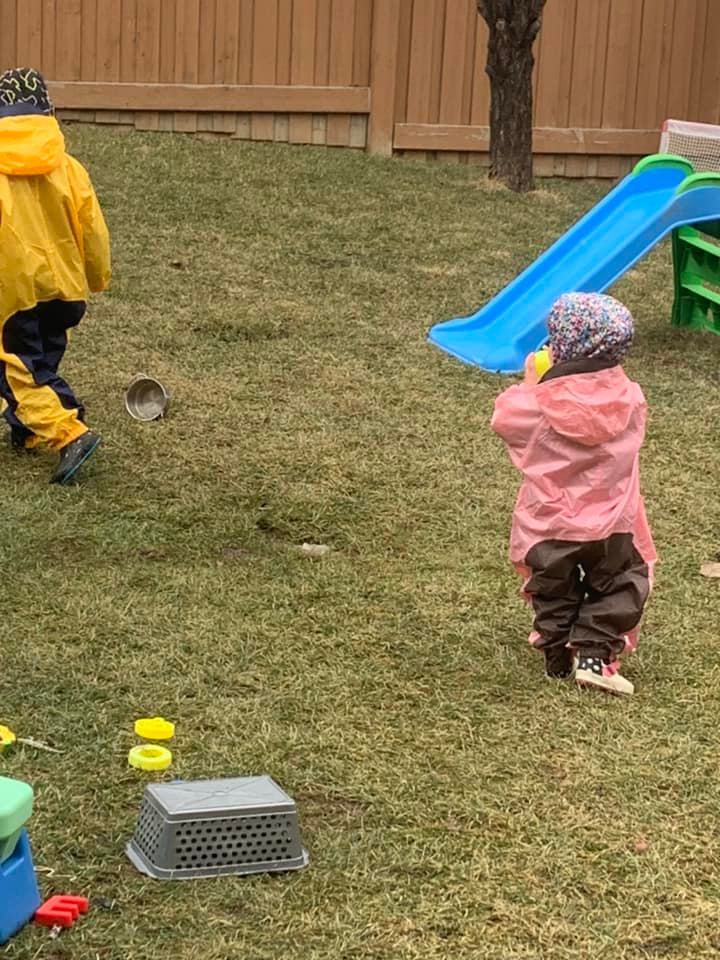
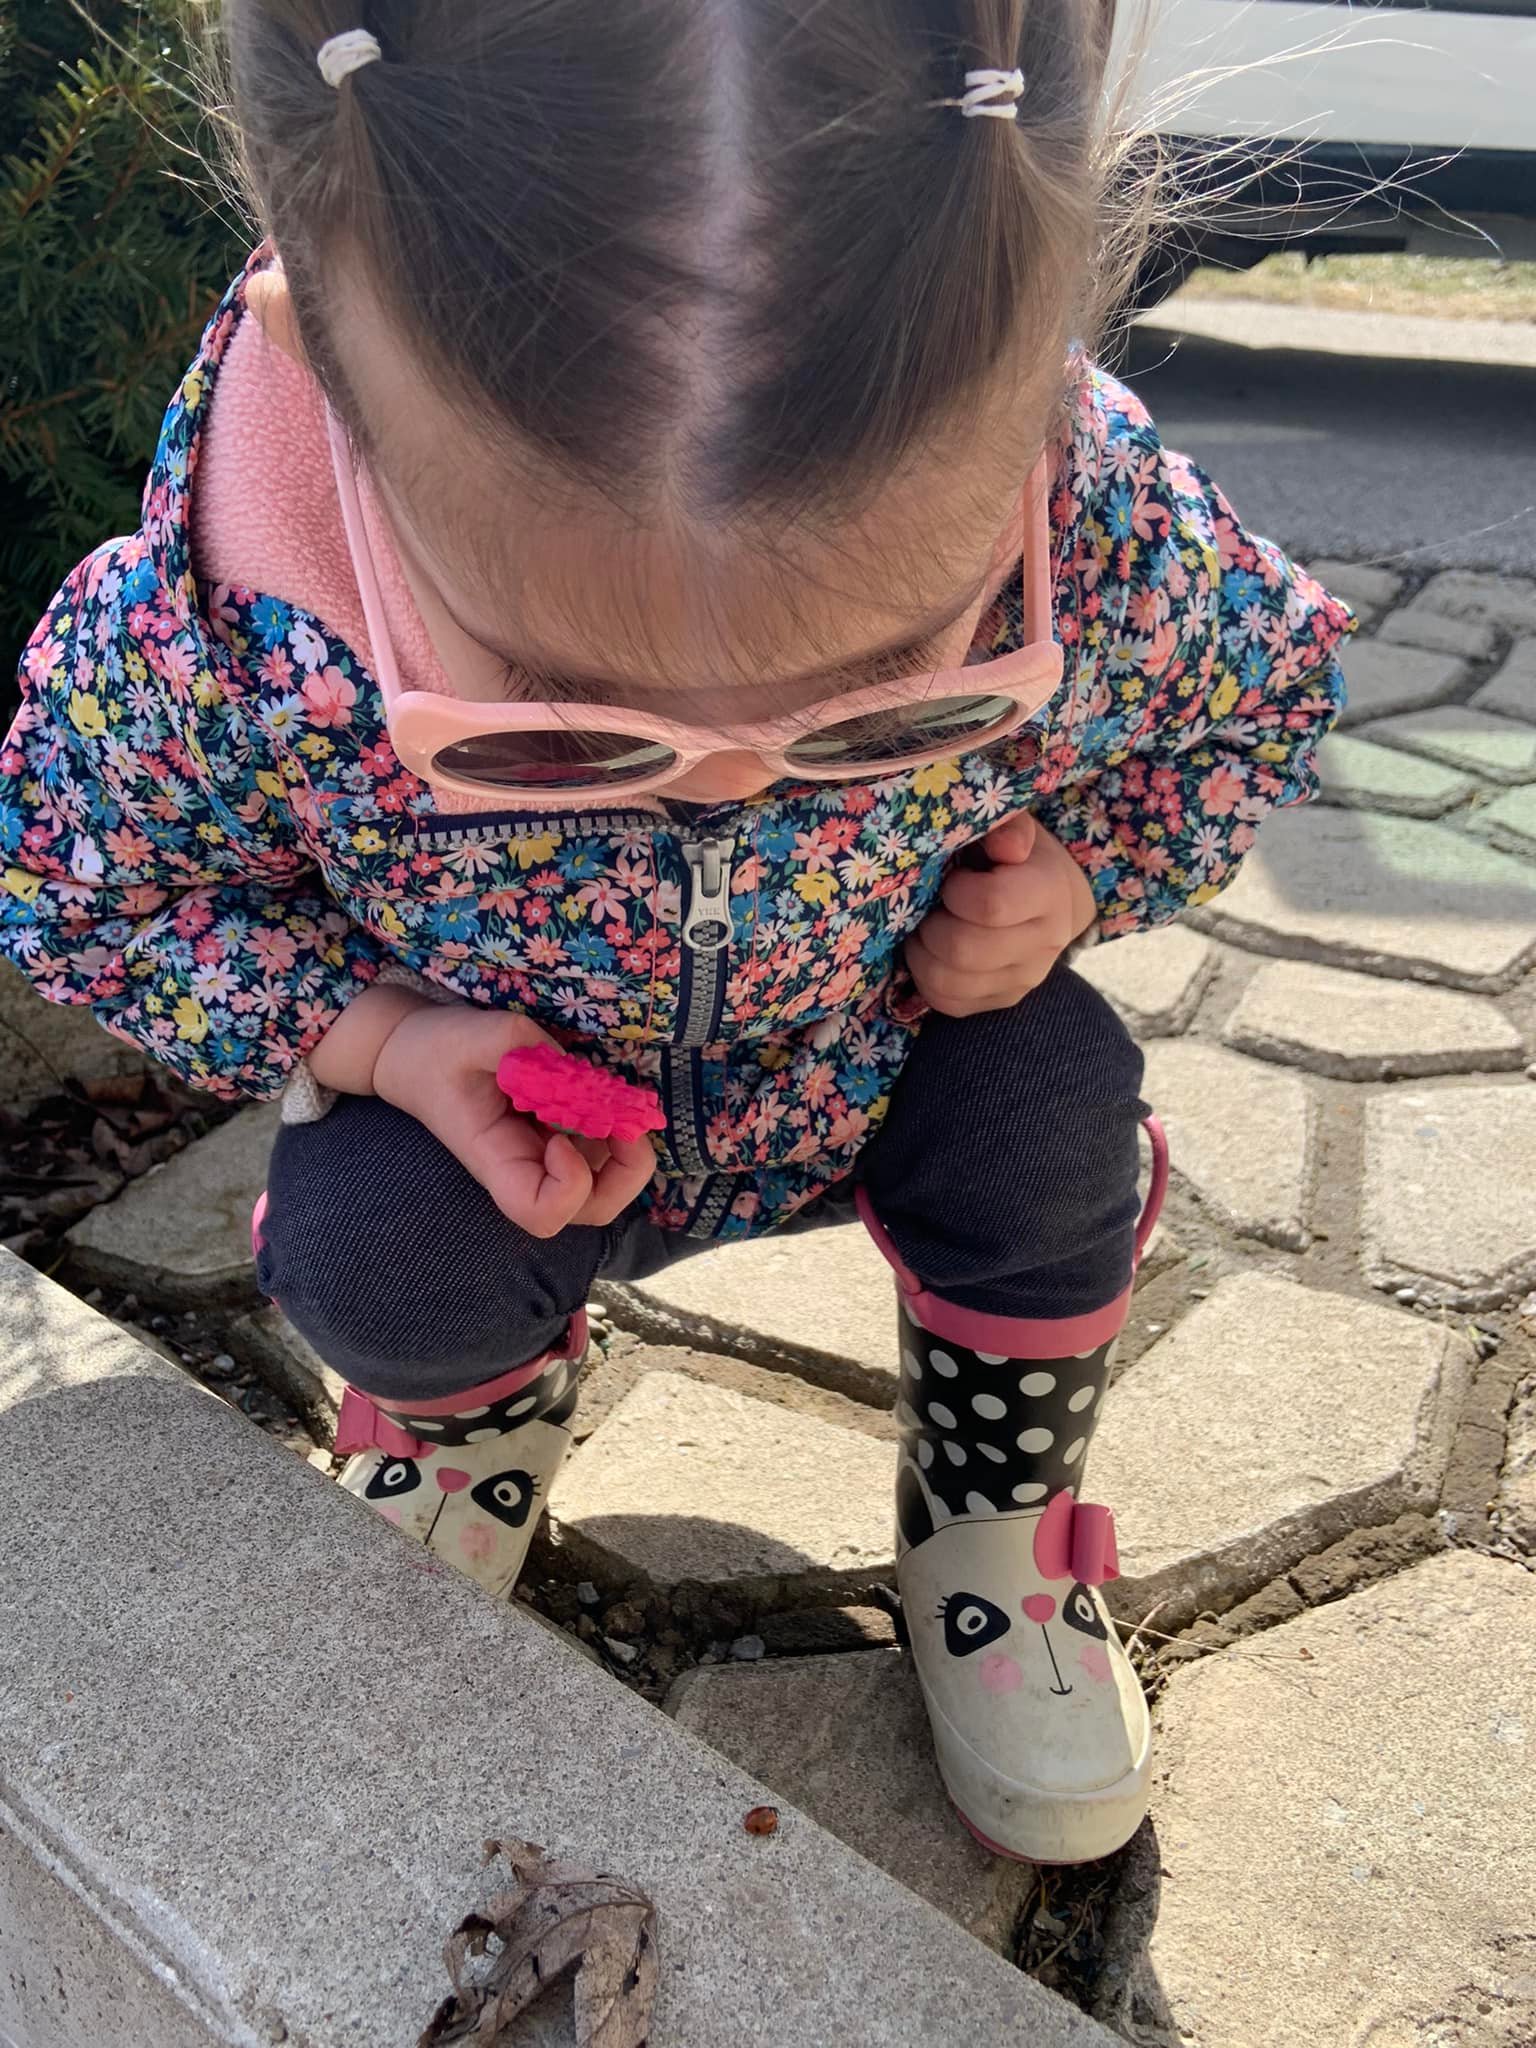
“There is no such thing as bad weather”. This is a statement I find all over different parenting and education sites and blogs. We know for a fact that the more time outdoors children have, the better. Outdoor spaces help children learn to balance and coordinate their movements, uneven ground and slopes are amazing teachers for learning how your body moves in space and for spatial awareness in general. Time outside is rich in sensorial experiences, there is so much to see, hear, smell, touch and regardless of the adults efforts to hinder it, taste. Fresh air and vitamin D from the sun on our skin is a mood booster, a sleep aid, and a rejuvenator. We think better and therefore learn better when we have an adequate amount of time to move our bodies, and be outdoors. These are all objectively positive things, but something that I find is not mentioned enough is that while it is true there is no such thing as bad weather (although perhaps there is potentially dangerous weather), there is a considerable amount of work that is involved in all weather outdoor play. 

Getting tiny humans bundled up to go outside in the freezing cold winter, only to have them beg to come in ten minutes later can make it feel pointless. Wrapping them up in rain suits and rubber boots only to realize that each rainy day play potentially means a load of muddy and grassy laundry feels overwhelming. Spraying or rubbing in layer after layer of sunscreen knowing that every loose blade of grass and that the beloved sand in the sandbox is about to coat your children and require immediate bathing and floor cleaning can feel repulsive.

I provide home childcare a few days a week and on those days I know that the above applies not only to my own children but also to three or four additional tiny humans! There is significant work involved, and in some cases an actual workout (you work up a real sweat getting five to six toddlers bundled in snow gear!)

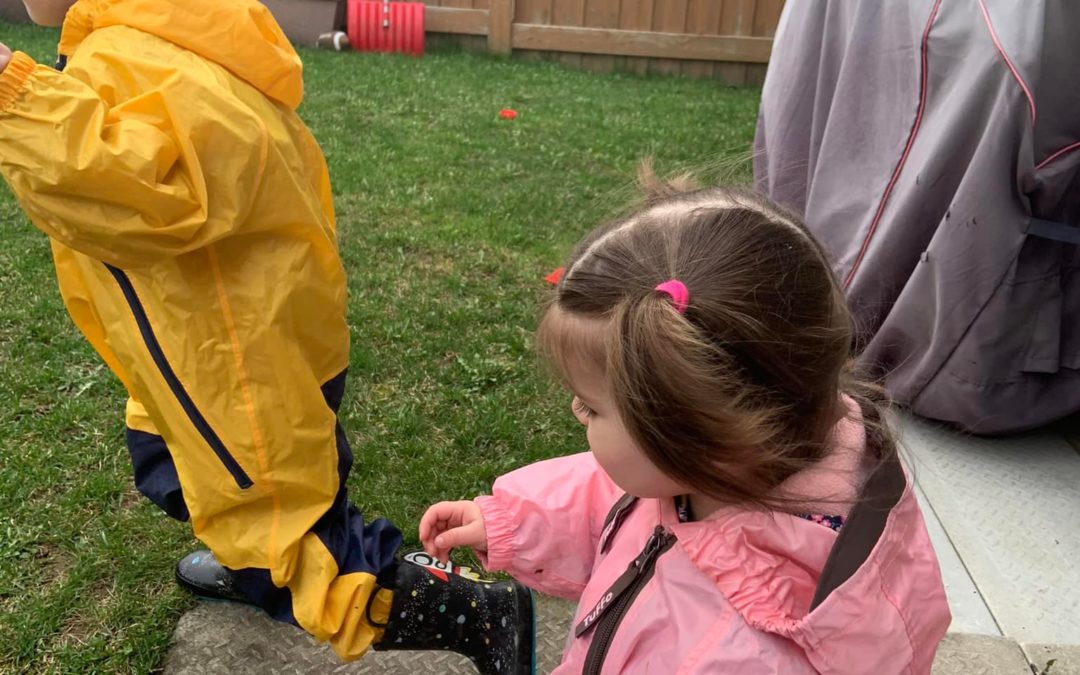
But here is the most important point in this whole post. It is worth it, and it is necessary! There are also so many learning experiences that can be involved even in just the dressing part, let alone the outdoor learning. In the winter there are plenty of opportunities to practice self dressing. We often spend longer getting dressed in the winter, than we do playing outside! This is the time to practice zippers, identifying which boot belongs to which foot, and learning to do the coat flip trick. Every time you go outside the children get to practice these skills, and generally they don’t enjoy the long dress up sessions either and are motivated to learn to do it independently! 

After playing in some mud and puddles on a rainy day there is an opportunity for children to notice the mess in brings, to involve them in the laundry, the sweeping and the mopping. Toddlers and preschoolers generally love these activities, they learn a lot and it makes the entire experience an educational play time! Not just the part that we consider play time, but the part we consider work as well. Besides the rainy days are the best days to go observing worms and snails, and the birds that follow. 

Those hot summer days can be made much easier by ending each play session with a sprinkler game, kiddie pool or hosing down. They may need a bath afterwards but there are ways to bundle bath time with either chores or play. Maybe they sit in the bath and have a popsicle while you relax and read. This is amazing for their nervous systems, is mess free, and gives you some downtime. Maybe before bringing them in squirt some dish soap all over the tub and shower walls and then throw the kids in with some scrub brushes. They will have a blast scrubbing the soap and making crazy, soapy foam and when they are done both the shower and the children are clean! It is safe, the kids enjoy it, and it knocks an annoying chore off the to do list. When my kids do this I just spray it down after they get out with a leave on shower cleanser and everything (and everyone) is left shiny clean and smelling great. I also find that summer picnics help cut down on the cleanup, if you know it will just be a brief lunch break before heading back outside why not eat outside and save the mess that will be tracked in? I like to set up a water dispenser for hand washing outside or we use the hose so that besides bathroom breaks we can spend the whole day outside.

Two more things I have been trying to work on as I attempt to add more and more all weather play to our days is better equipping myself, and letting go of the house mess. I realized that one of the big reasons I avoided winter play was because my kids were bundled up well, but I was always cold as I did not own snowpants. In rainy weather I felt like a soggy mess without effective rain boots. In the summer I was forgetting to reapply sunscreen and was a sore mess after a day of play. I have been working on better preparing myself for all weather play and seeing it as part of the Montessori adults work- to prepare the adult. Likewise I have been working on preparing the environment. I made some changes to where we dress and undress for outdoor play. Made it part of my daily routine whether or not we go out to vacuum and mop our entry ways and main floor. This change has allowed me to completely let go of the mess because I know that no matter what that space will be cleaned at the end of the day as it is everyday. This change has actually allowed for us to do a lot more messy play and art as well as the space we come in and out of is our dining room, which is also where our art shelf is set up. The dining room has become the “mess zone” where we make the most mess every day, but because it would need cleaning either way after meals it is not feeling like any extra work for me to maintain the space! 

Prepare yourself, prepare your home, and take the kids outside no matter the weather. It is worth it for everyone involved!

Montessori Sound Cylinders DIY

Montessori Sound Cylinders DIY

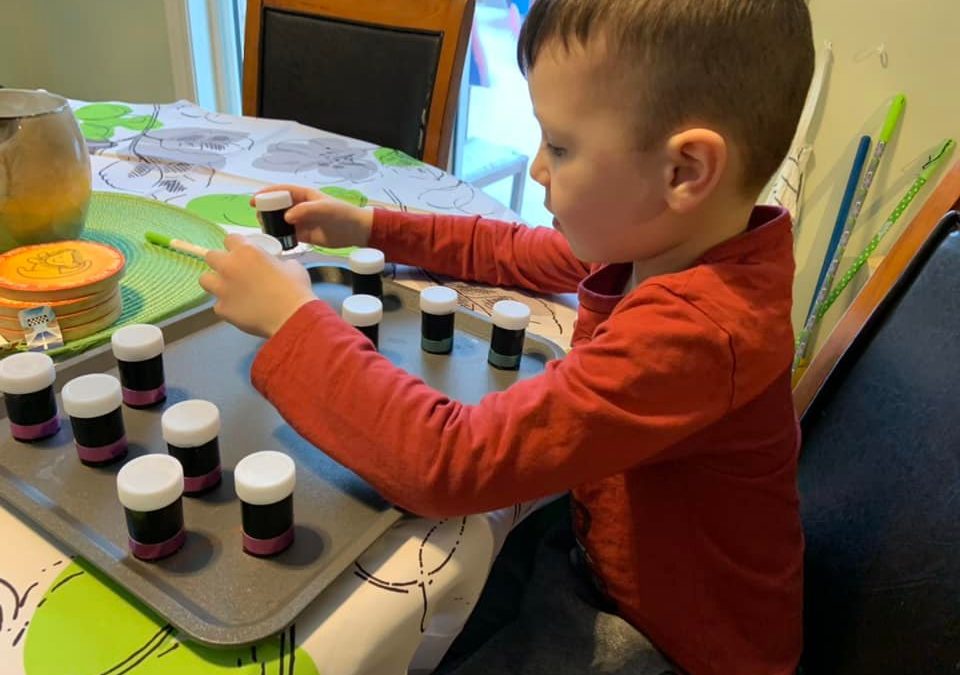
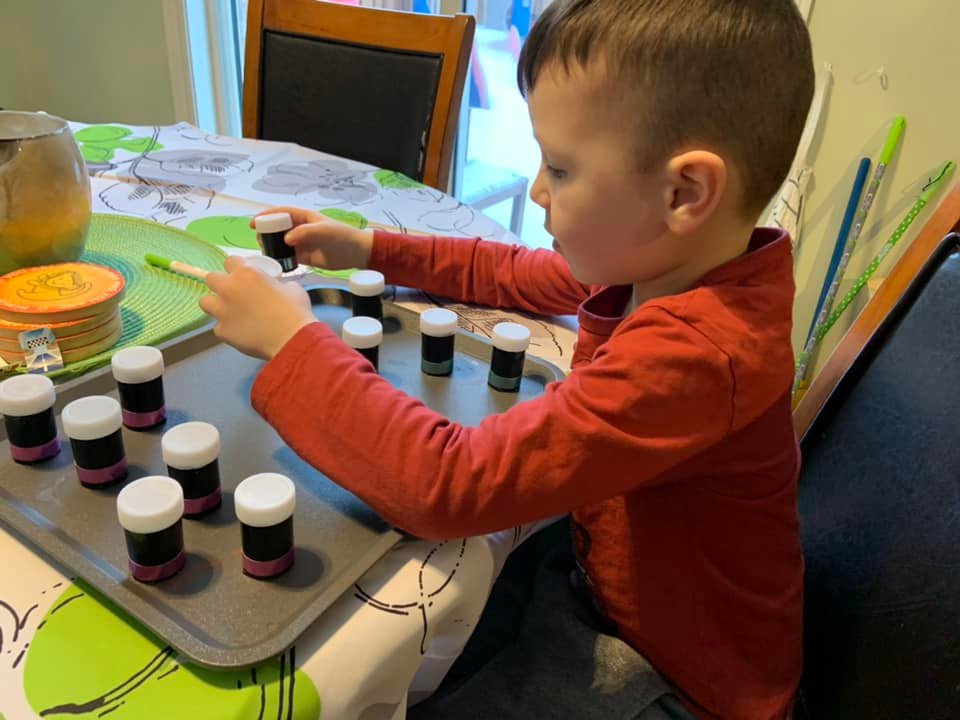
Today I want to talk about an extremely easy DIY version of a classic Montessori material called the Sound Cylinders or Sound Boxes. In the classic material you would have two sets of six wooden cylinders. One set would have a red top, and one set would have a blue top. The goal of the material is to have the child match the red and blue cylinders into pairs that create the same sound when shaken. There are actually a number of other activities that can be done with the cylinders but this is the activity that seems to be the best known. A key part of the material is a small colored dot on the bottom of the cylinders. Each pair of cylinders has a matching dot or number on the bottom to allow for the child to self correct as they work. When I decided to DIY this activity I picked up a set of plastic containers from the Dollar Tree and everything else I used I already had on hand.

The containers I found were transparent so my first step was to cover the containers in tape so that my kids would not be able to see the contents. We want to isolate the skill of auditory discrimination rather than having the child simply match by visuals. Once the containers were covered I used washi tape in two different colors to mark my different sets. I then put matching stickers on the bottoms to mark my pairs. Finally I filled the containers with different fillers- beans, lentils, quinoa, rice, and beads. Make sure your matching containers have the same amount of filler in them or it will impact the sound and they will not match. I also hot glued my containers shut because of the younger kids I have in my home, but if I was making this for a home with preschoolers and up I would have left them unsealed, leaving the option open to change the sounds and even have the children change it up themselves!

This is a fun little activity and only takes ten minutes to assemble. I do not think it is worth the $35 my local Montessori store is asking for it, but for the $1.25 I spent on my DIY definitely worth it! Now that Mr. Man has mastered the matches I have actually been thinking I may switch out my color match stickers on the bottom for numbers. This would allow the activity to also be self correcting in arranging the cylinders from softest to loudest. The reason I went with colors initially was because Little Miss is not familiar with number symbols yet, but I have noticed she does not care to self correct anyways. She prefers to work on them together at the moment and so that leaves me space to adjust them for my four year old’s needs.


Displaying Puzzles

Displaying Puzzles

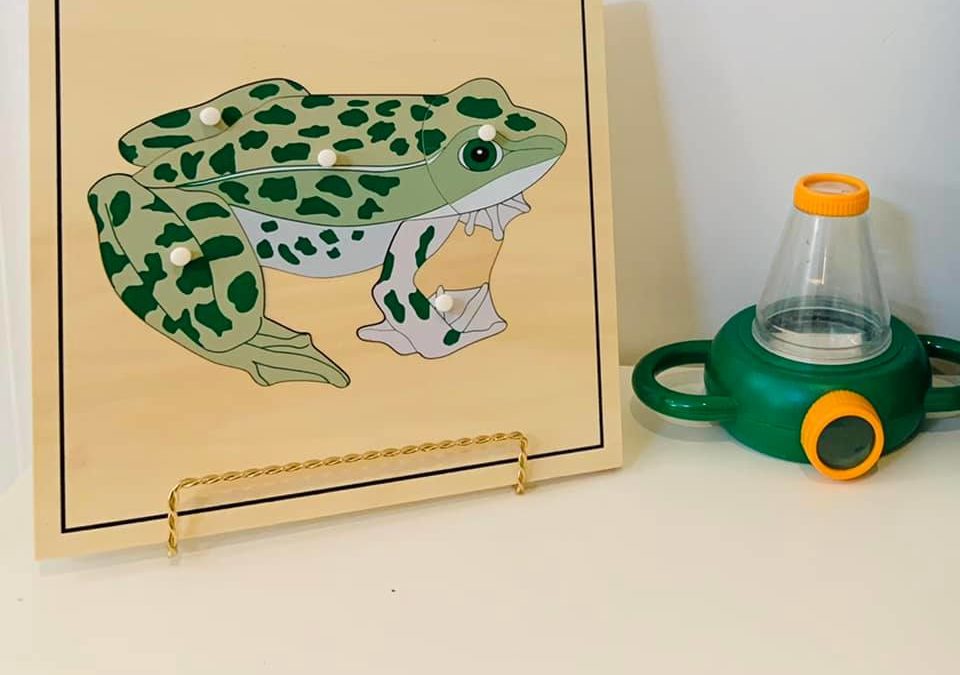
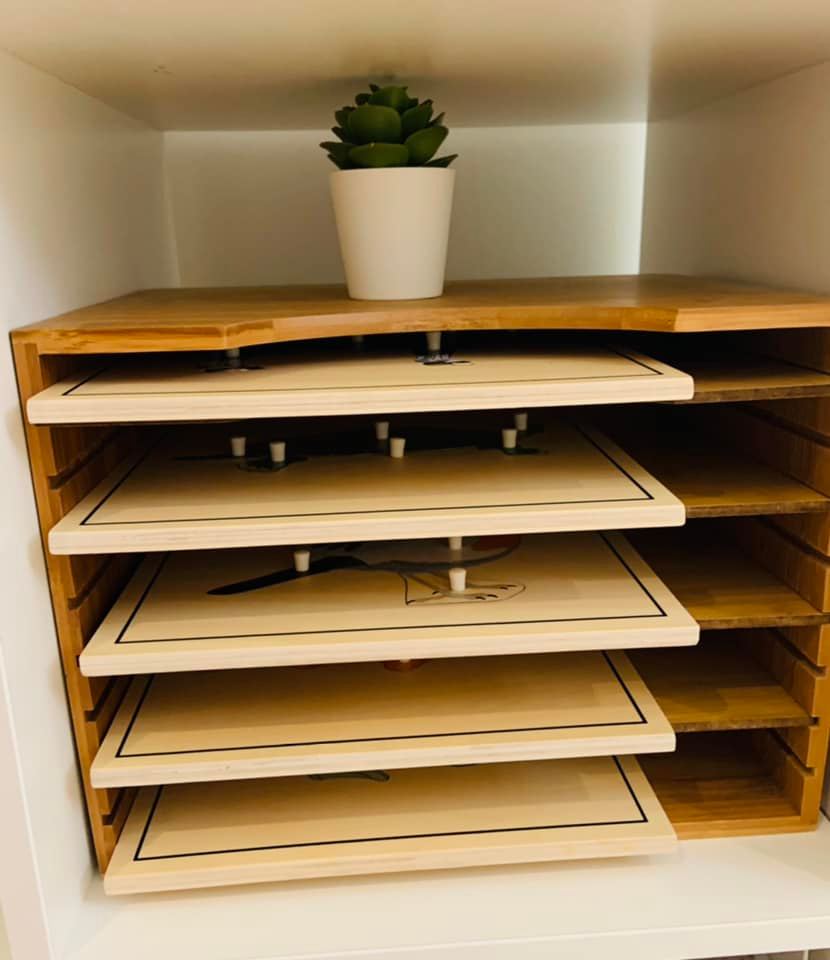
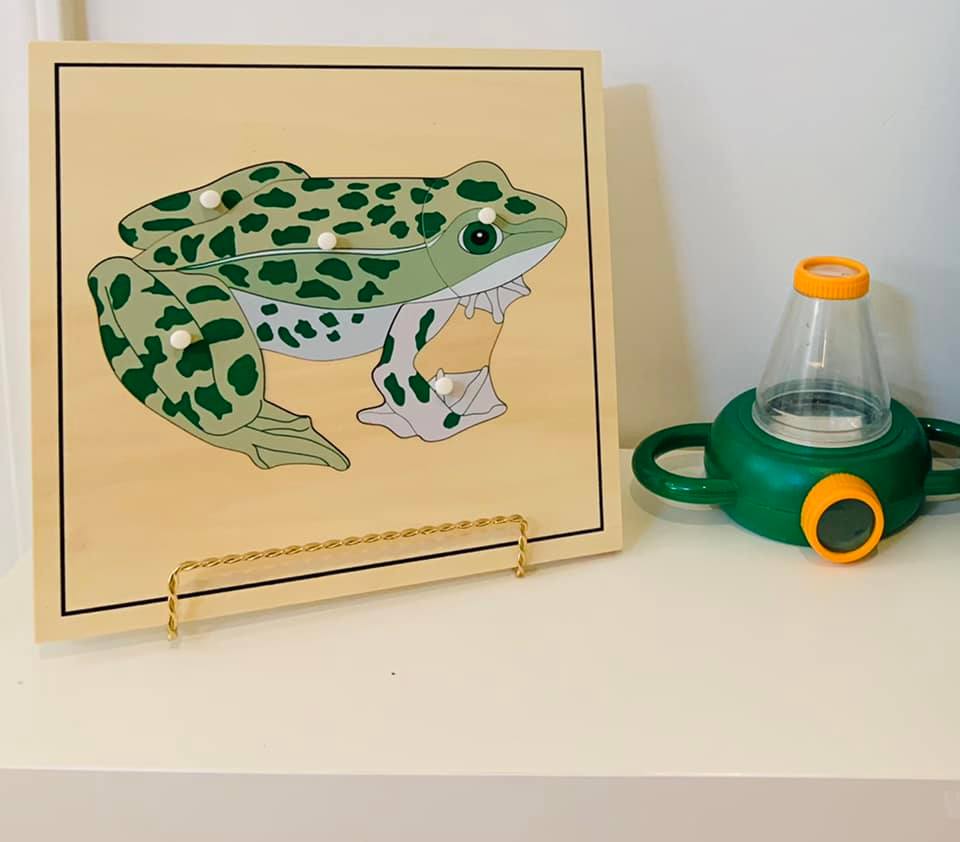
Finding a way to store and display puzzles can be a real challenge. For toddlers it is easy enough to put a puzzle flat on the shelf with the pieces to the side. Preschoolers tend to enjoy doing a larger variety of puzzles however and storing them in the same way would take up a lot of shelf real estate. This has been the solution I have found for peg puzzles and small wooden jigsaw puzzles that has worked best in our home. We use paper trays to store a small rotation of puzzles at a time. There are also paper trays with removeable shelves which I find very useful for puzzles, the whole tray can be pulled out and carried to the table with all the pieces arranged however you please. When I do a themed unit study and I happen to have a puzzle that suits the theme I also like the appeal of the puzzle being displayed with a picture holder. I find that even a puzzle that has been ignored on the shelf for weeks will draw children in when it is displayed this way.