The Art of Sensory Bins
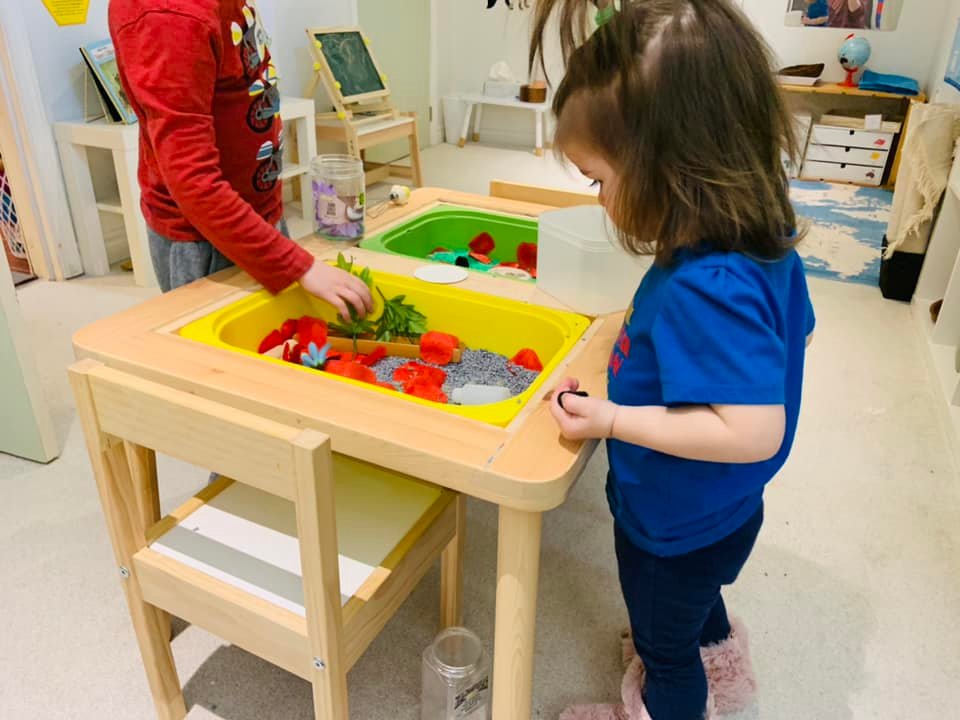
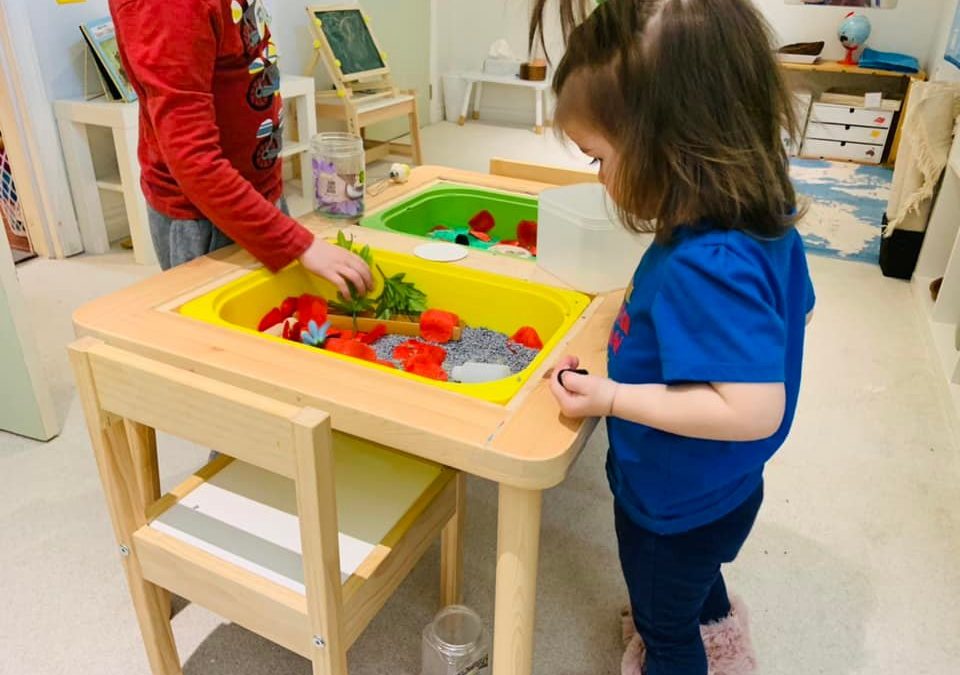
While scrolling through social media, specifically in parenting groups I have noticed that people often get stumped on sensory bins. One common question in my Montessori groups is “Is this Montessori aligned?” The answer is no, it is not a Montessori aligned activity. There is generally not an isolation of a concept for a child to be learning, there is no element of self correction within the activity, and it generally appeals to multiple senses at a time. All that being said there is a place for sensory bins in Montessori homes, even if it is not found in Montessori classrooms. The home does not need to replicate the classroom, the classroom actually attempts to replicate a home environment in many ways! I believe that sensory bins are lovely additions to any home regardless of the adults approach to education and parenting. Another sticking point seems to be what to put in sensory bins. I see people do a couple of the obvious bins like rice and water and then come looking for ideas on facebook.
First off I want to provide a recipe for a great sensory bin. You need three things.
- A filler
- Tools or Figures
- A bin to put them in
That is really all you need! I will provide three lists below for each category to give you plenty of ideas for your sensory bins at home.
Dry Fillers
- Sand
- Gravel
- Large rocks
- Soil
- Shredded paper
- Rolled up balls of tinfoil
- Tissue Paper
- Pipe cleaners
- Pom Poms
- Feathers
- Cotton Balls
- Twigs
- Leaves
- Pine Cones
- Grass
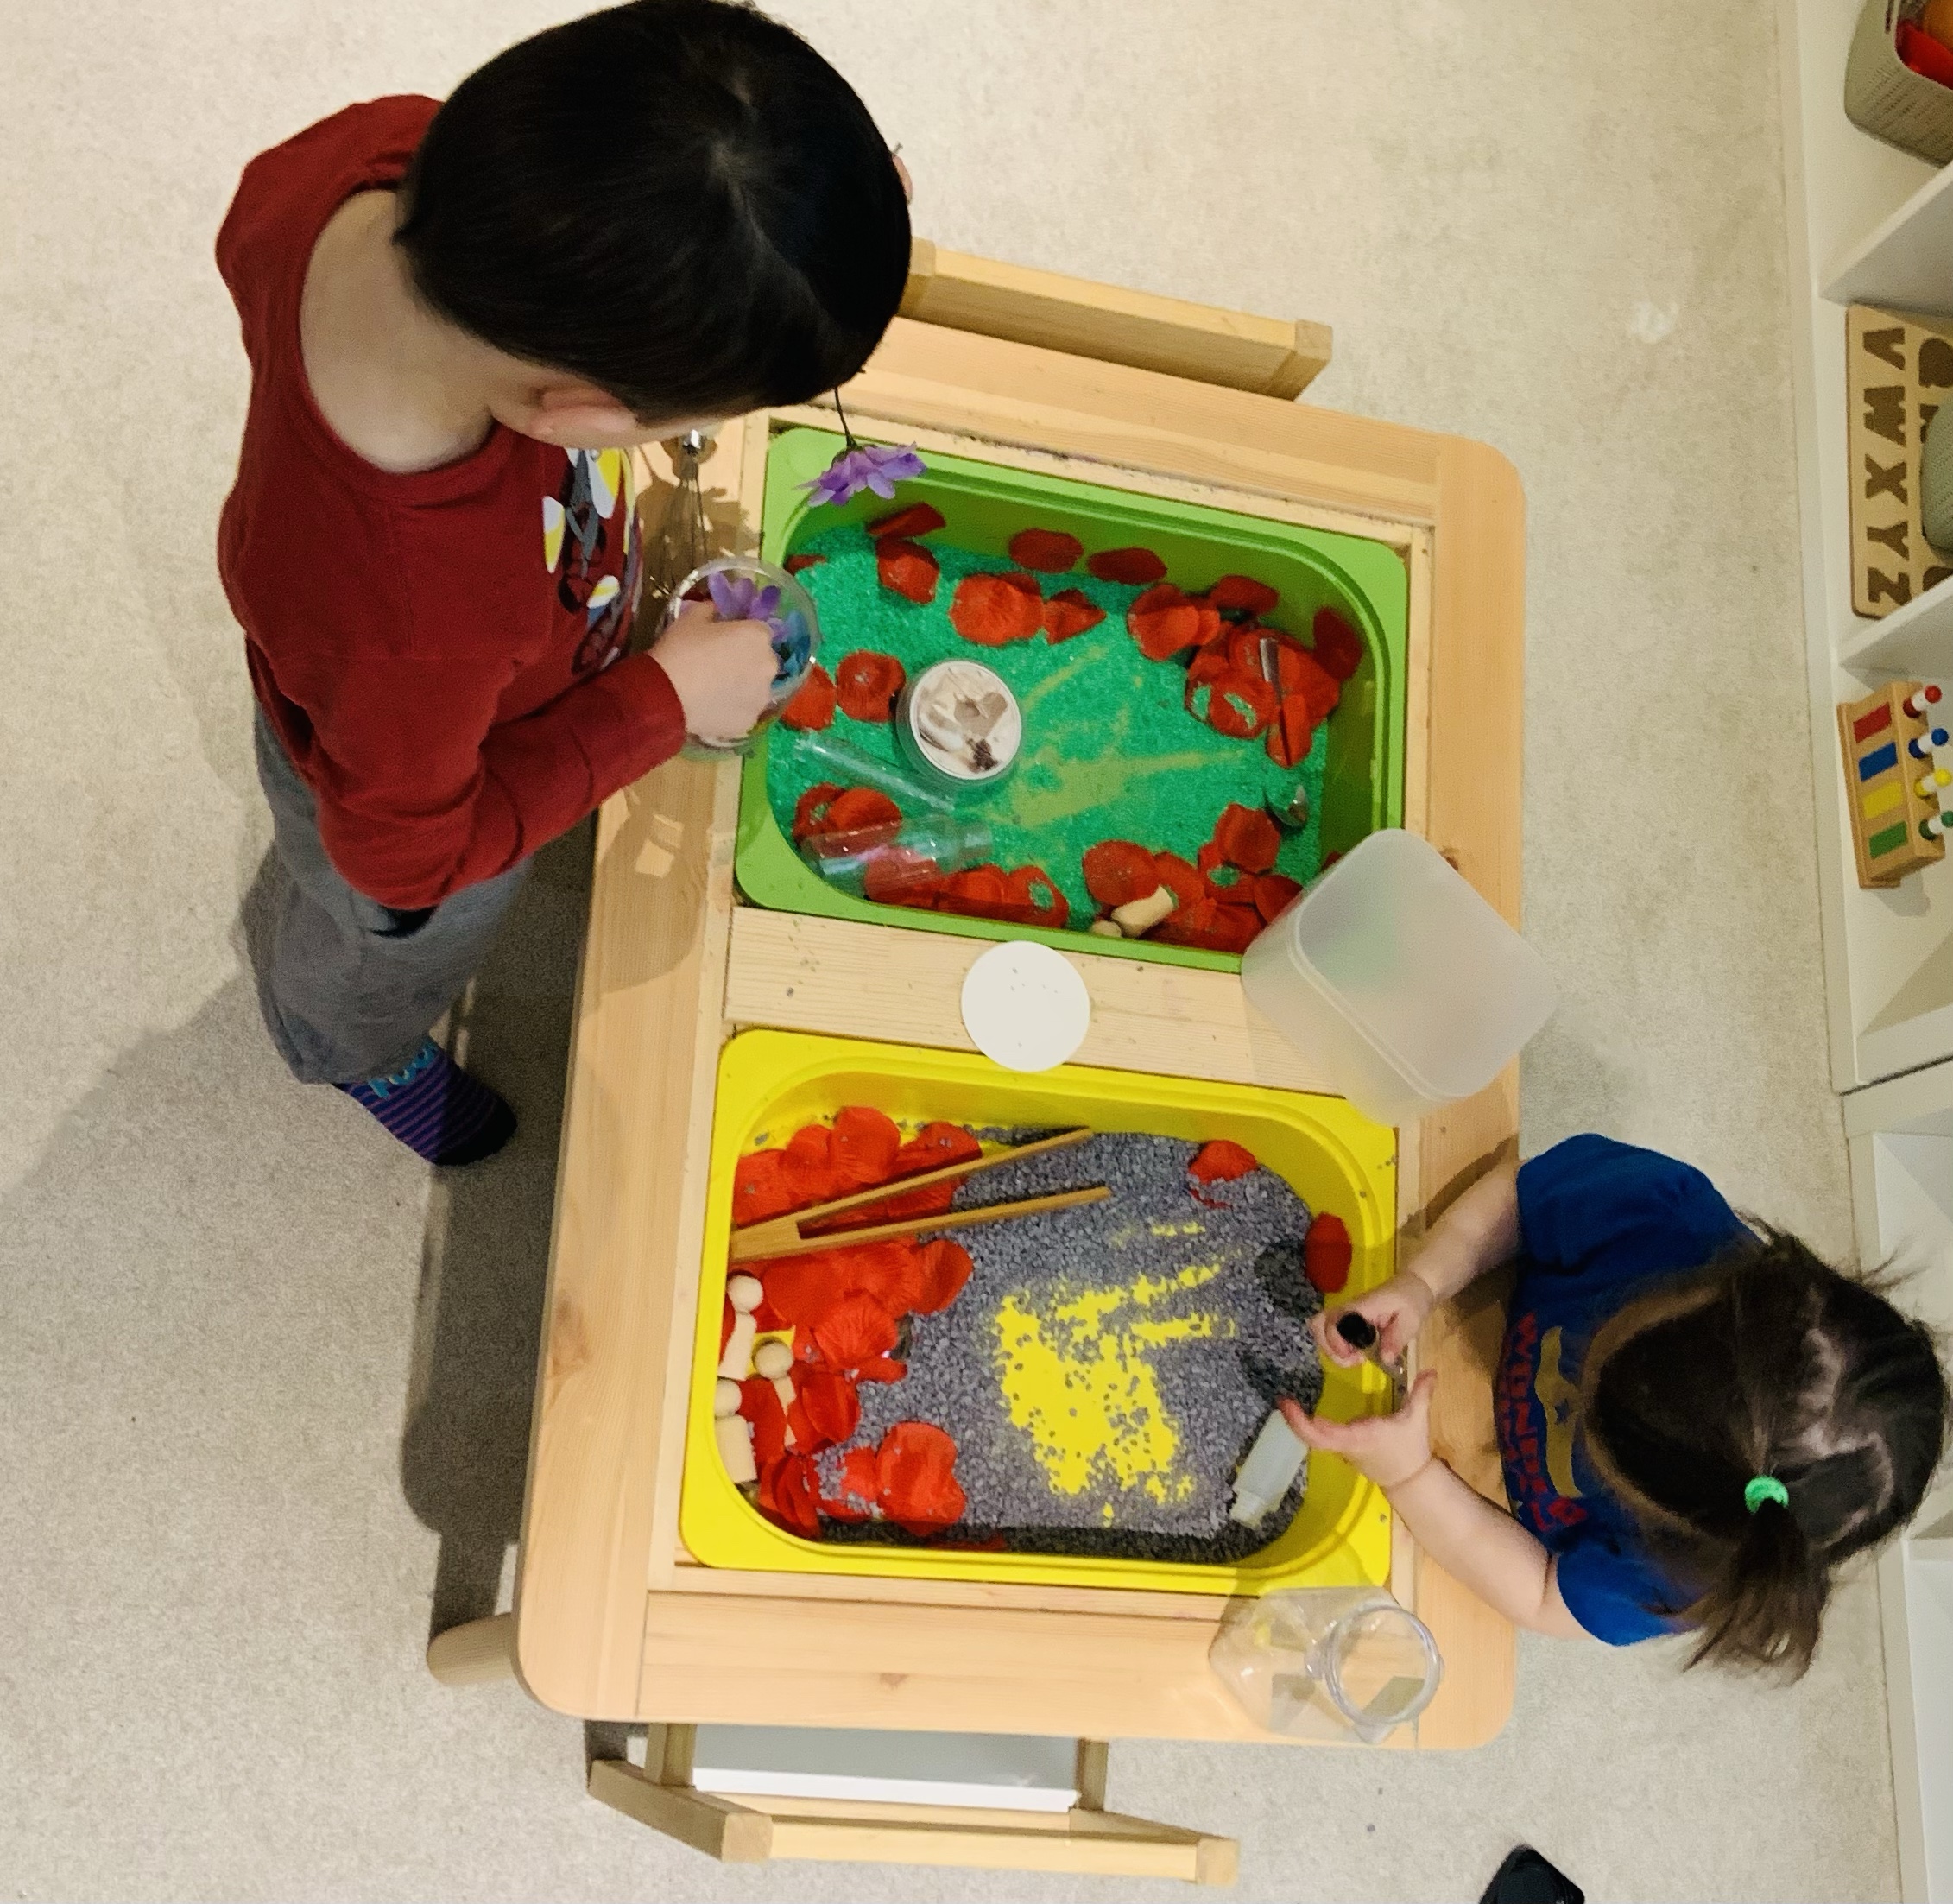
- Fake Flowers
- Real Flowers
- Beads
- Scraps of fabric
- Tiny wood or foam block
Wet Fillers
- Water
- Dyed Water
- Soap in Water
- Shaving Cream
- Whipped Cream
- Oobleck
- Cocoa powder with water
- Jello
- Ice ( I included it here because of how quickly it melts!)
- Snow
Many of the dry fillers can be combined with the wet fillers to get all new fillers! Just keep an eye on things like beans and seeds as they may sprout. I have accidentally started bean plants in my classrooms more than once!
Bins
You do not need the elusive Ikea Flisat Table for sensory play. You just need a container of any kind to hold your fillers. It could be a plastic tub from the dollar store, a large stock pot, a couple Tupperware containers, your bathtub (depending on the filler), a shoebox or cardboard box for dry fillers, a big bowl, even a playpen or kiddie pool. There are some other options out there for sensory tables such as Tuff Trays and water tables as well. Be creative and look at what you have on hand, you likely already have everything you need to set up an amazing sensory bin for your little ones.
Edible Fillers
- Rice
- Dyed Rice
- Pasta
- Dyed Pasta
- Oats
- Flour
- Cornstarch
- Cocoa Power
- Cereal
- Crushed Cereal
- Popcorn Kernels
- Dry Beans
- Lentils
- Barley
- Seed Mix
Note that while these are all technically edible many of them should not be consumed raw for health reasons. Flour, lentils, beans and kernels especially should be supervised closely to avoid consumption.
Tools and Figures
- Scoops
- Spoons
- Shovels
- Containers
- Cups
- Lids
- Bowls
- Tongs
- Ladles
- Strainers
- Spatulas
- Mixing Spoons
- Toy Vehicles
- Animal figurines
- Small dolls
- Baby Dolls
- Play food and utensils
- Blocks
- Toy tools
- Paintbrushes
- Stuffed Animals
- Dinosaur figurines
- Peg People
- Small Bags (fabric, or coin purse type thing)
- Straws
- Funnels
- Bottles
- Flower pots
- Small doll houses
- Lego and lego figures ( This can also be a filler combined with another tool)
- Cupcake liners
- Coffee filters
So many toys and household tools can be used in sensory bins. As long as it is safe, and washable then it is likely something you can use!
Here is the beauty of sensory bins. You can combine items from these different lists and have so many varieties that you likely will never cycle through them all. Switching one element can make the activity entirely different. I want to use shaving cream as an example. Shaving cream and food coloring with paper and paintbrushes can be used to make shaving cream art. Shaving cream with small animal figures and scoops can be used for an animal hunt. Shaving cream in the bathtub can be used to paint oneself. Shaving cream with vehicles becomes a carwash. Shaving cream with cupcake liners and various kitchen tools becomes an invitation to play bakery. Colored shaving cream in multiple small containers becomes a science experiment in color mixing. Shaving cream of one color in a large tub with a bottle of water becomes an experiment in how substances change. The opportunities are nearly endless! I will be doing a post in the near future about the other major element of sensory bin play. Mess containment and clean up.
