Free to Create- a Toddler Friendly Art Space

Free to Create- a Toddler Friendly Art Space

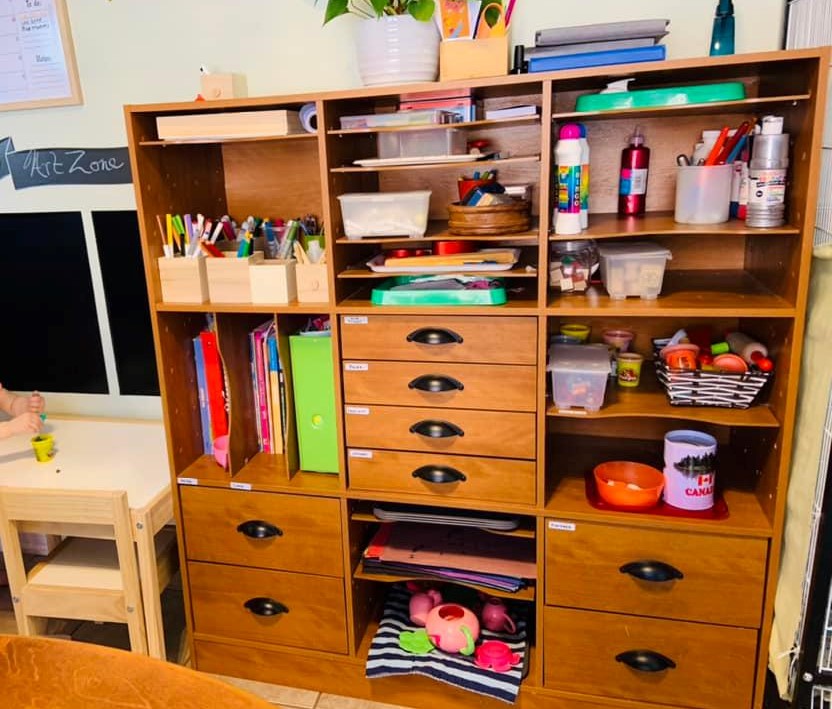
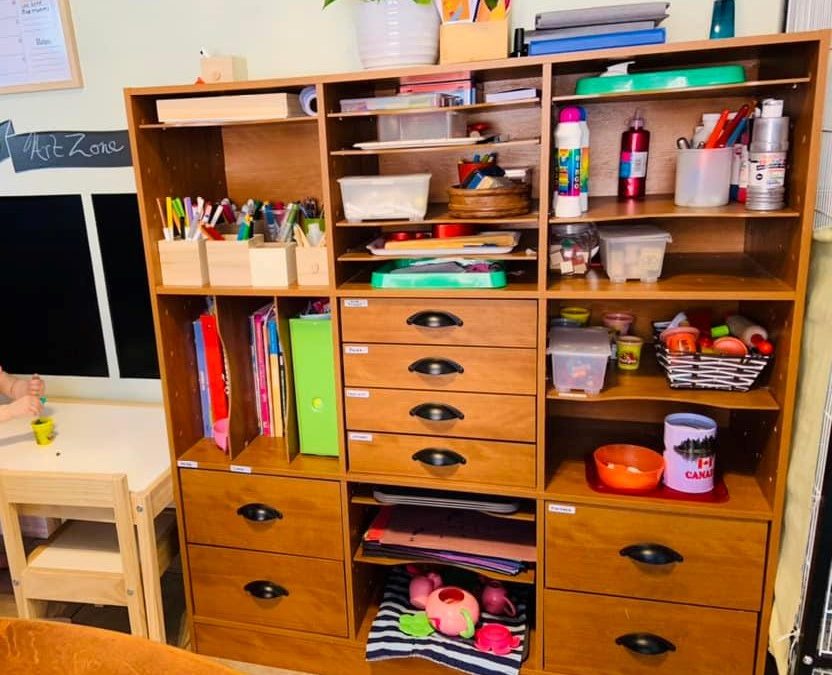
I have redesigned and relocated our art space more times than I can even recall. I have tried free access to all the supplies on an Art Cart. I have tried a shelf with individual activities contained on trays. I have set up a place for art in my office, in the playroom and as of now in our dining room. This is where it has been the longest and I suspect is where it will remain for quite a few years. The dining room becomes messy after meals and already requires more clean up than any other room in my home on a daily basis, so adding the art shelf to the room did not increase the need to clean up. The kids have free access to majority of our materials (although some are on a rotation), and I occasionally provide a tray activity which is designed to engage a particular skill. Occasionally I add a thematic activity or two but I aim to keep the activities as process based as possible. The goal is for the children to be experimenting, learning, and expressing their creativity. Sometimes it can be a challenge to provide the variety that I want to provide to my eldest when his younger sister, and my younger home daycare children are also using the space. What I have found the most helpful is utilizing height. The scissors, more expensive paints, and anything sharp I keep on the highest shelves where Mr Man can access them, but the toddlers need to ask me for assistance. The lower shelves contain plenty of materials suitable to the toddlers to use whenever they please! 

Stop Overthinking It!

Stop Overthinking It!

It can be easy to get swept away by all the beautiful Instagram pictures of shelves perfectly curated for children. To see blogs about homeschooling families who have a morning tea time with poetry daily. To compare yourself to these families with the expensive but authentic materials. I see it often on different social media platforms- “All my toddler wants to do is open and close this cupboard. What activity can I make or purchase to encourage this skill?” My suggestion is to let them open and close the cupboard. Let them find ways to engage with their environment that are meaningful to them! It is not a planned or purchased activity, but it is still valuable to the child otherwise they would not be repeating it. This is just one example but there are many others that are similar, children doing harmless activities and parents wanting to replicate that action with a toy. Children are not limited to educational toys to play and learn. Everything that they interact with throughout the day provides information. Whether it is sensory information, or cause and effect observations or even activities like self feeding which practice fine and gross motor skills as well as engaging the child’s proprioceptive skills. 

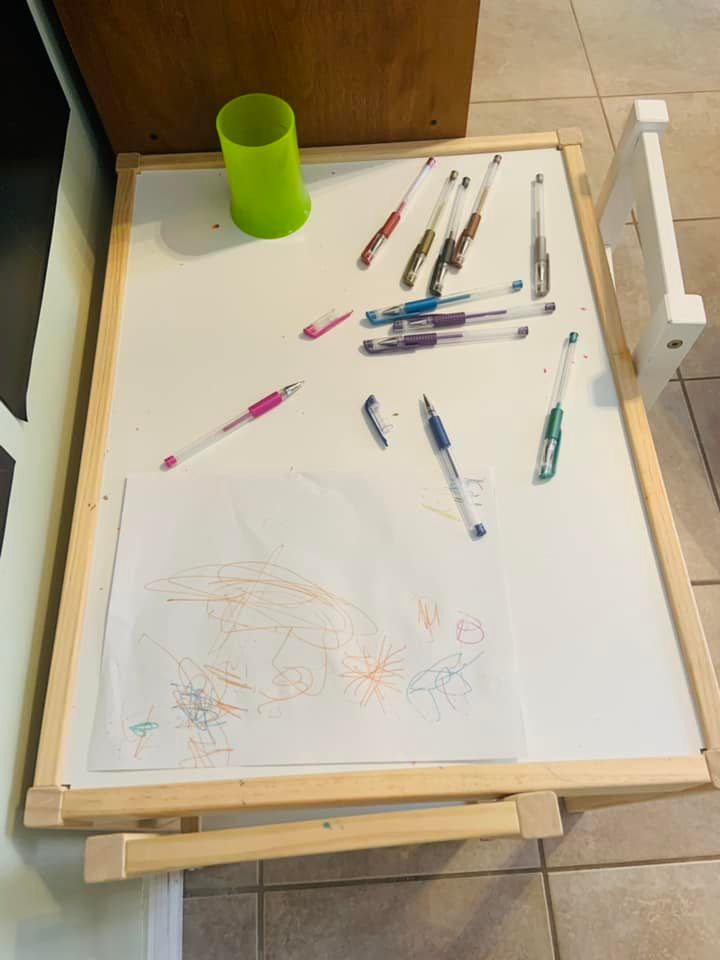
The other day my daughter wanted to draw with Mr Mans gel pens but she could not get the caps off. I wanted a few minutes to myself to drink my coffee and read the news so when she interrupted me for help the third time I realized that I needed to adjust the accessibility for her. I removed all the caps from the pens and let her continue drawing while I read. Afterwards I cleaned up from breakfast and as I was tidying I noticed the pens were nearly all capped. Not only that she had matched all the colors on the lids to the pens. Color sorting has been a big interest for Little Miss lately so I was happy to see that she had discovered her own color match activity. I was also amused to see that her paper looked very similar to how it looked before I uncapped all the pens, she had lost interest in the drawing itself. I probably could have jumped in and made it into a whole color identifying lesson (had I been paying attention) but that would have likely robbed her of that self chosen activity, the pride of accomplishing it, and very likely could have ended the activity prematurely. 

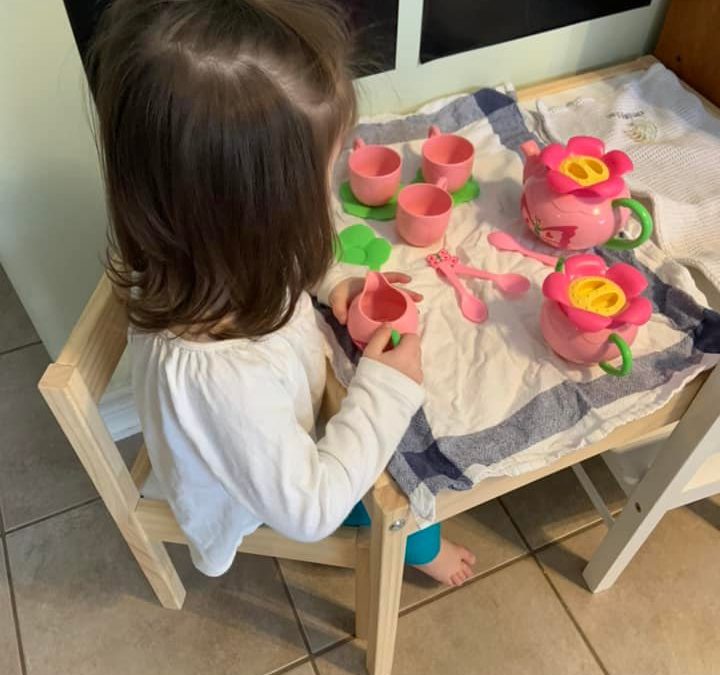
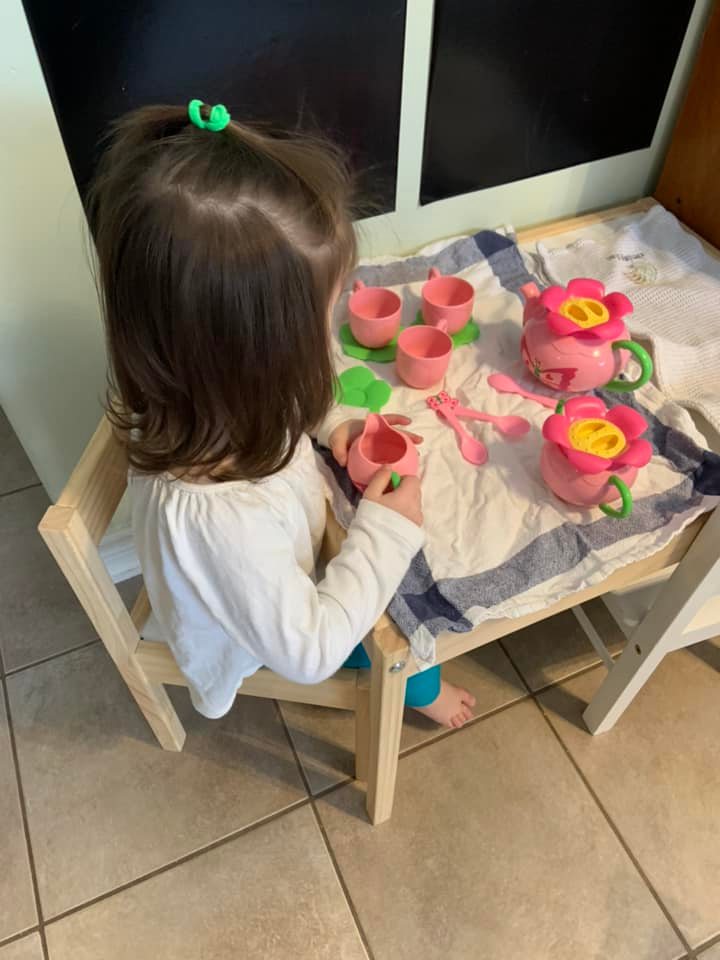
I want to share one other example of an opportunity to overthink it and my simple but effective solution. I needed to prepare dinner and Little Miss was underfoot. Normally I would invite her to help but on this day she had no interest in helping and just wanted me to carry her. Not an option at that time unfortunately. She wanted to be near me and I knew I needed her engaged in something if I was to get anything accomplished. So I scanned the room and noticed her toy teapot on the floor. A minute later she was happily seated with her tea set practicing pouring water (a skill I was trying to work on often with her) while I prepped dinner a few feet away. I did not need anything fancy, it was not planned. It was just using what we had on hand in a way I knew would distract her. This activity actually drew Mr Man in as well and kept both children engaged for half an hour. 
 

Learning to Recognize Initial Sounds

Learning to Recognize Initial Sounds

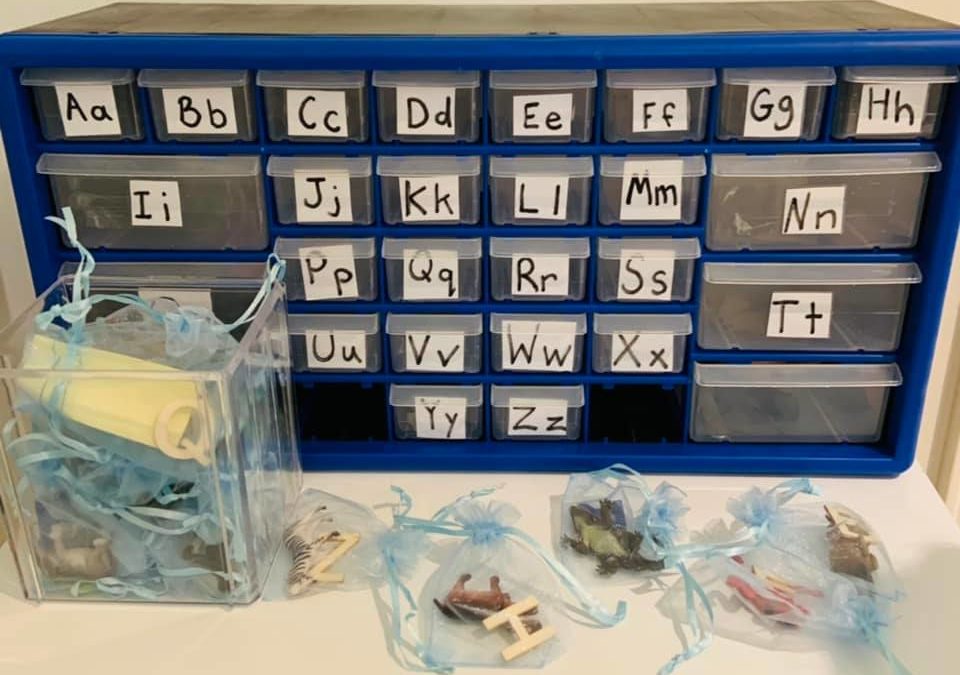
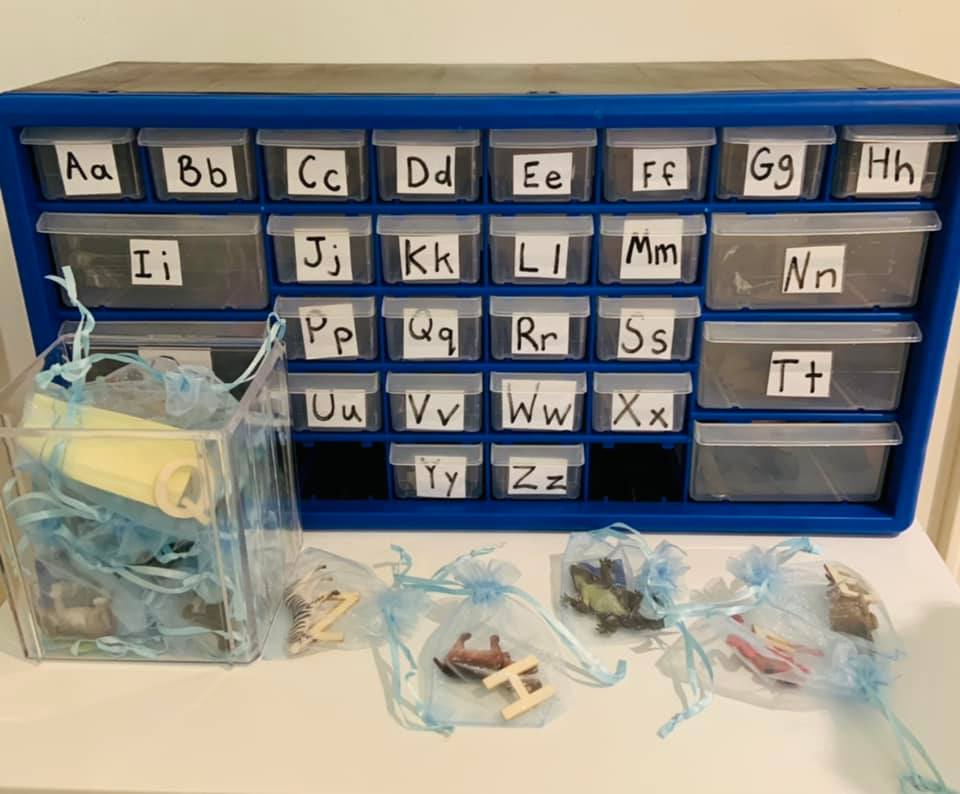
When children begin to become interested in learning to read or write the first games played in Montessori homes are usually sound games. I spy but with initial, middle or ending sounds depending on what skills the child has in this area. “I spy something that starts with a “buh” for example when you want he child to identify a butterfly. Many homes also enjoy using small objects that go along with each initial sound. That is what I want to discuss today. My four year old has known letter sounds for two years now, but he is still learning to slow down and listen to hear sounds in spoken words. That is where this game came in, because he desperately wanted to learn but did not want to work with the sound game or sandpaper letters anymore. Since he speaks so quickly he was finding the moveable alphabet frustrating as well. I set up the initial sound boxes first using a hardware storage shelf from Princess Auto. Each compartment is labeled with a letter and contains a number of objects that start with that letter. Personally I change the objects up on occasion so that certain sounds are not associated with only specific objects ( I have known many children who see an a and assume the word must be apple because they have had it drilled into them. A is for apple). At our first introduction we went through the different compartments and identified the objects inside. The next time we did the activity I asked him why a group of objects were in a compartment together, and we said the names again until it dawned on him that they had the same initial sound. He went through all the compartments with excitement and listened to initial sounds carefully as we said each word. The next time he pulled this activity down he dumped every single object out. I was a little worried that he would become frustrated but I stayed back and observed, ready if he needed me. He went through every single object naming it and placing them back in the correct compartments. When he was finished, he dumped it and did it again. After a while I noticed that he was using the moveable alphabet with more confidence, he had figured out how to slow down and really listen to the sounds he was making. I have yet to rearrange the bins for ending sounds as his interests shifted but that will be my next step. 

Little miss is also very interested in letters, she has a strong desire to use her brothers primary materials. Since she is not at all ready for any of these language materials I have been keeping mostly the sandpaper letters within her reach. It has not been  enough for her, she wants similar materials to her brother. She wants letters to manipulate and small objects to explore. Since we were finished with the sound boxes for now I adjusted and made an activity that met her desires without misusing Mr Mans materials. Generally I would prefer not to introduce letters to such a young child but in this case the activity is mostly about in and out more than the letters. I found some dollar store wooden letters, and some organza bags. Each organza bag contains one letter and one object with a corresponding initial sound. I set out two bags in a basket and Little Miss enjoyed taking them in and out of the bags. She also loved the access to the little wooden letters (I just wish they were lower case!) I am not putting too much emphasis on the letters right now, but when she shows them to me I will say the letter sound. I am noticing that she is remembering some of the letter sounds. Mr Man also enjoys this makeshift activity but he likes to grab a handful out of the tub and work through them all at once. 

Displaying Puzzles

Displaying Puzzles

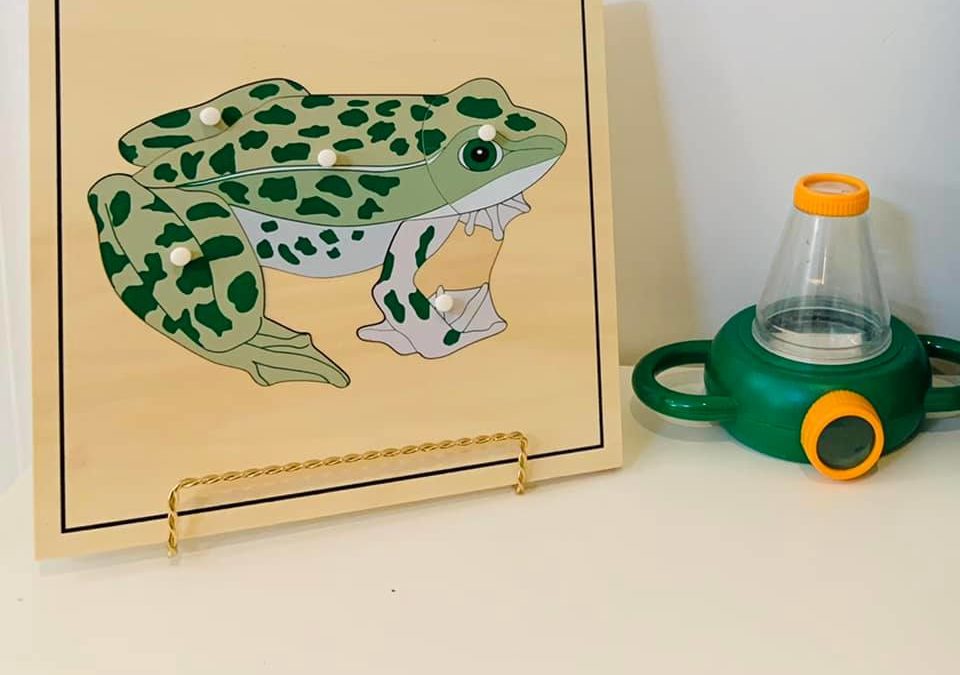
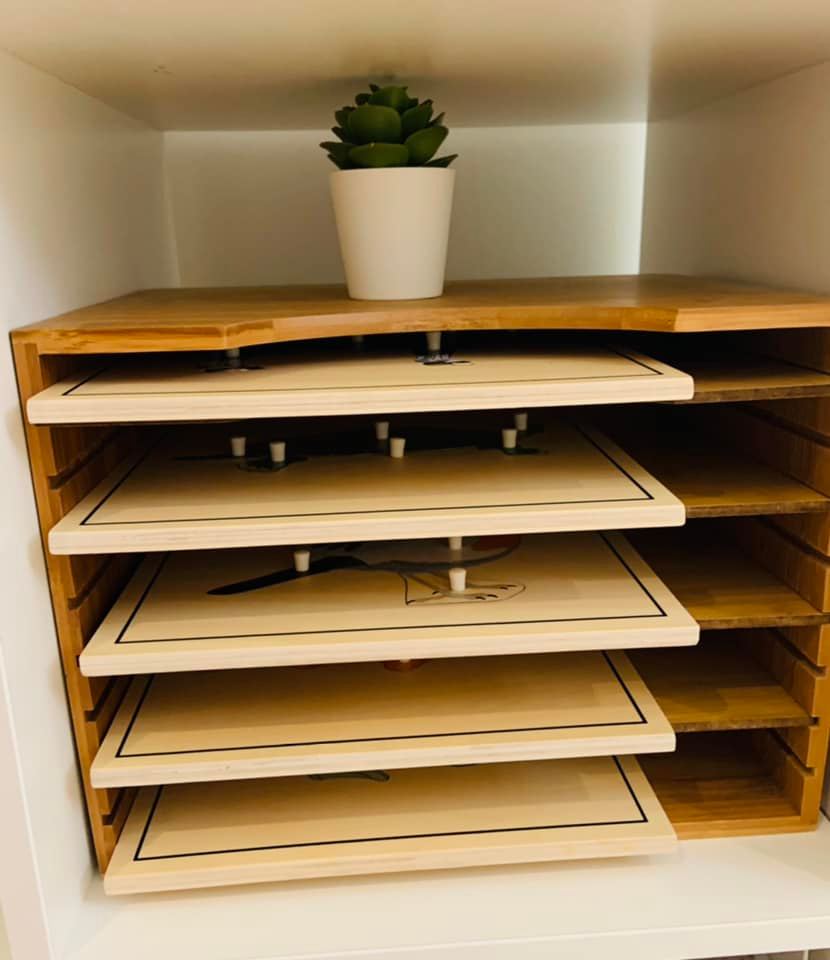
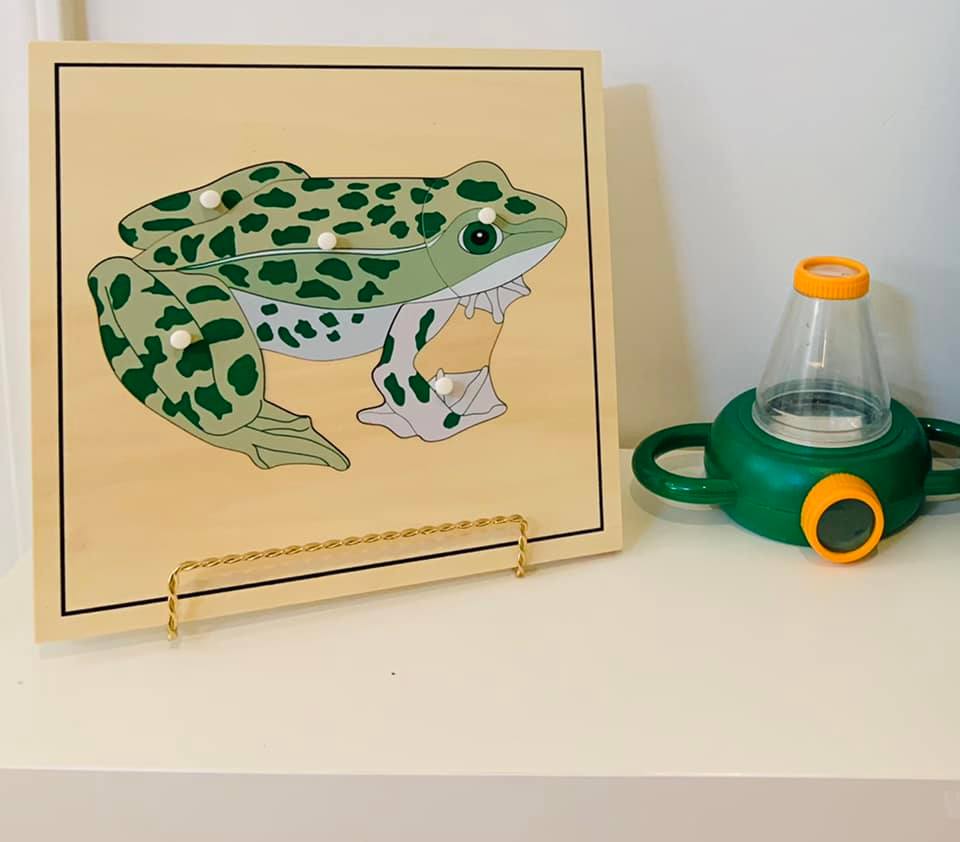
Finding a way to store and display puzzles can be a real challenge. For toddlers it is easy enough to put a puzzle flat on the shelf with the pieces to the side. Preschoolers tend to enjoy doing a larger variety of puzzles however and storing them in the same way would take up a lot of shelf real estate. This has been the solution I have found for peg puzzles and small wooden jigsaw puzzles that has worked best in our home. We use paper trays to store a small rotation of puzzles at a time. There are also paper trays with removeable shelves which I find very useful for puzzles, the whole tray can be pulled out and carried to the table with all the pieces arranged however you please. When I do a themed unit study and I happen to have a puzzle that suits the theme I also like the appeal of the puzzle being displayed with a picture holder. I find that even a puzzle that has been ignored on the shelf for weeks will draw children in when it is displayed this way. 

The Art of Sensory Bins

The Art of Sensory Bins

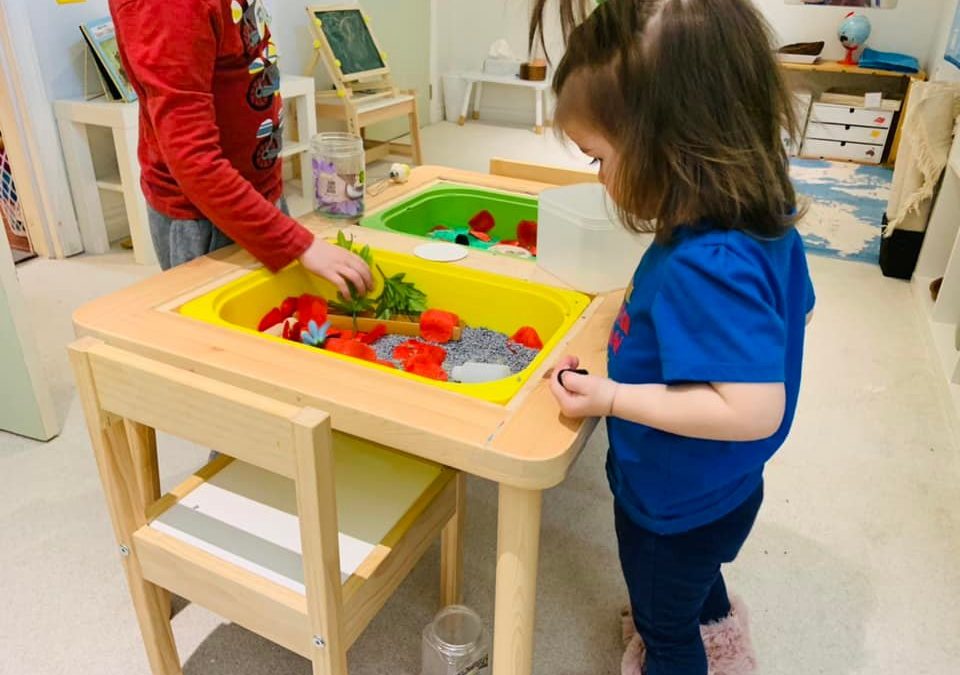
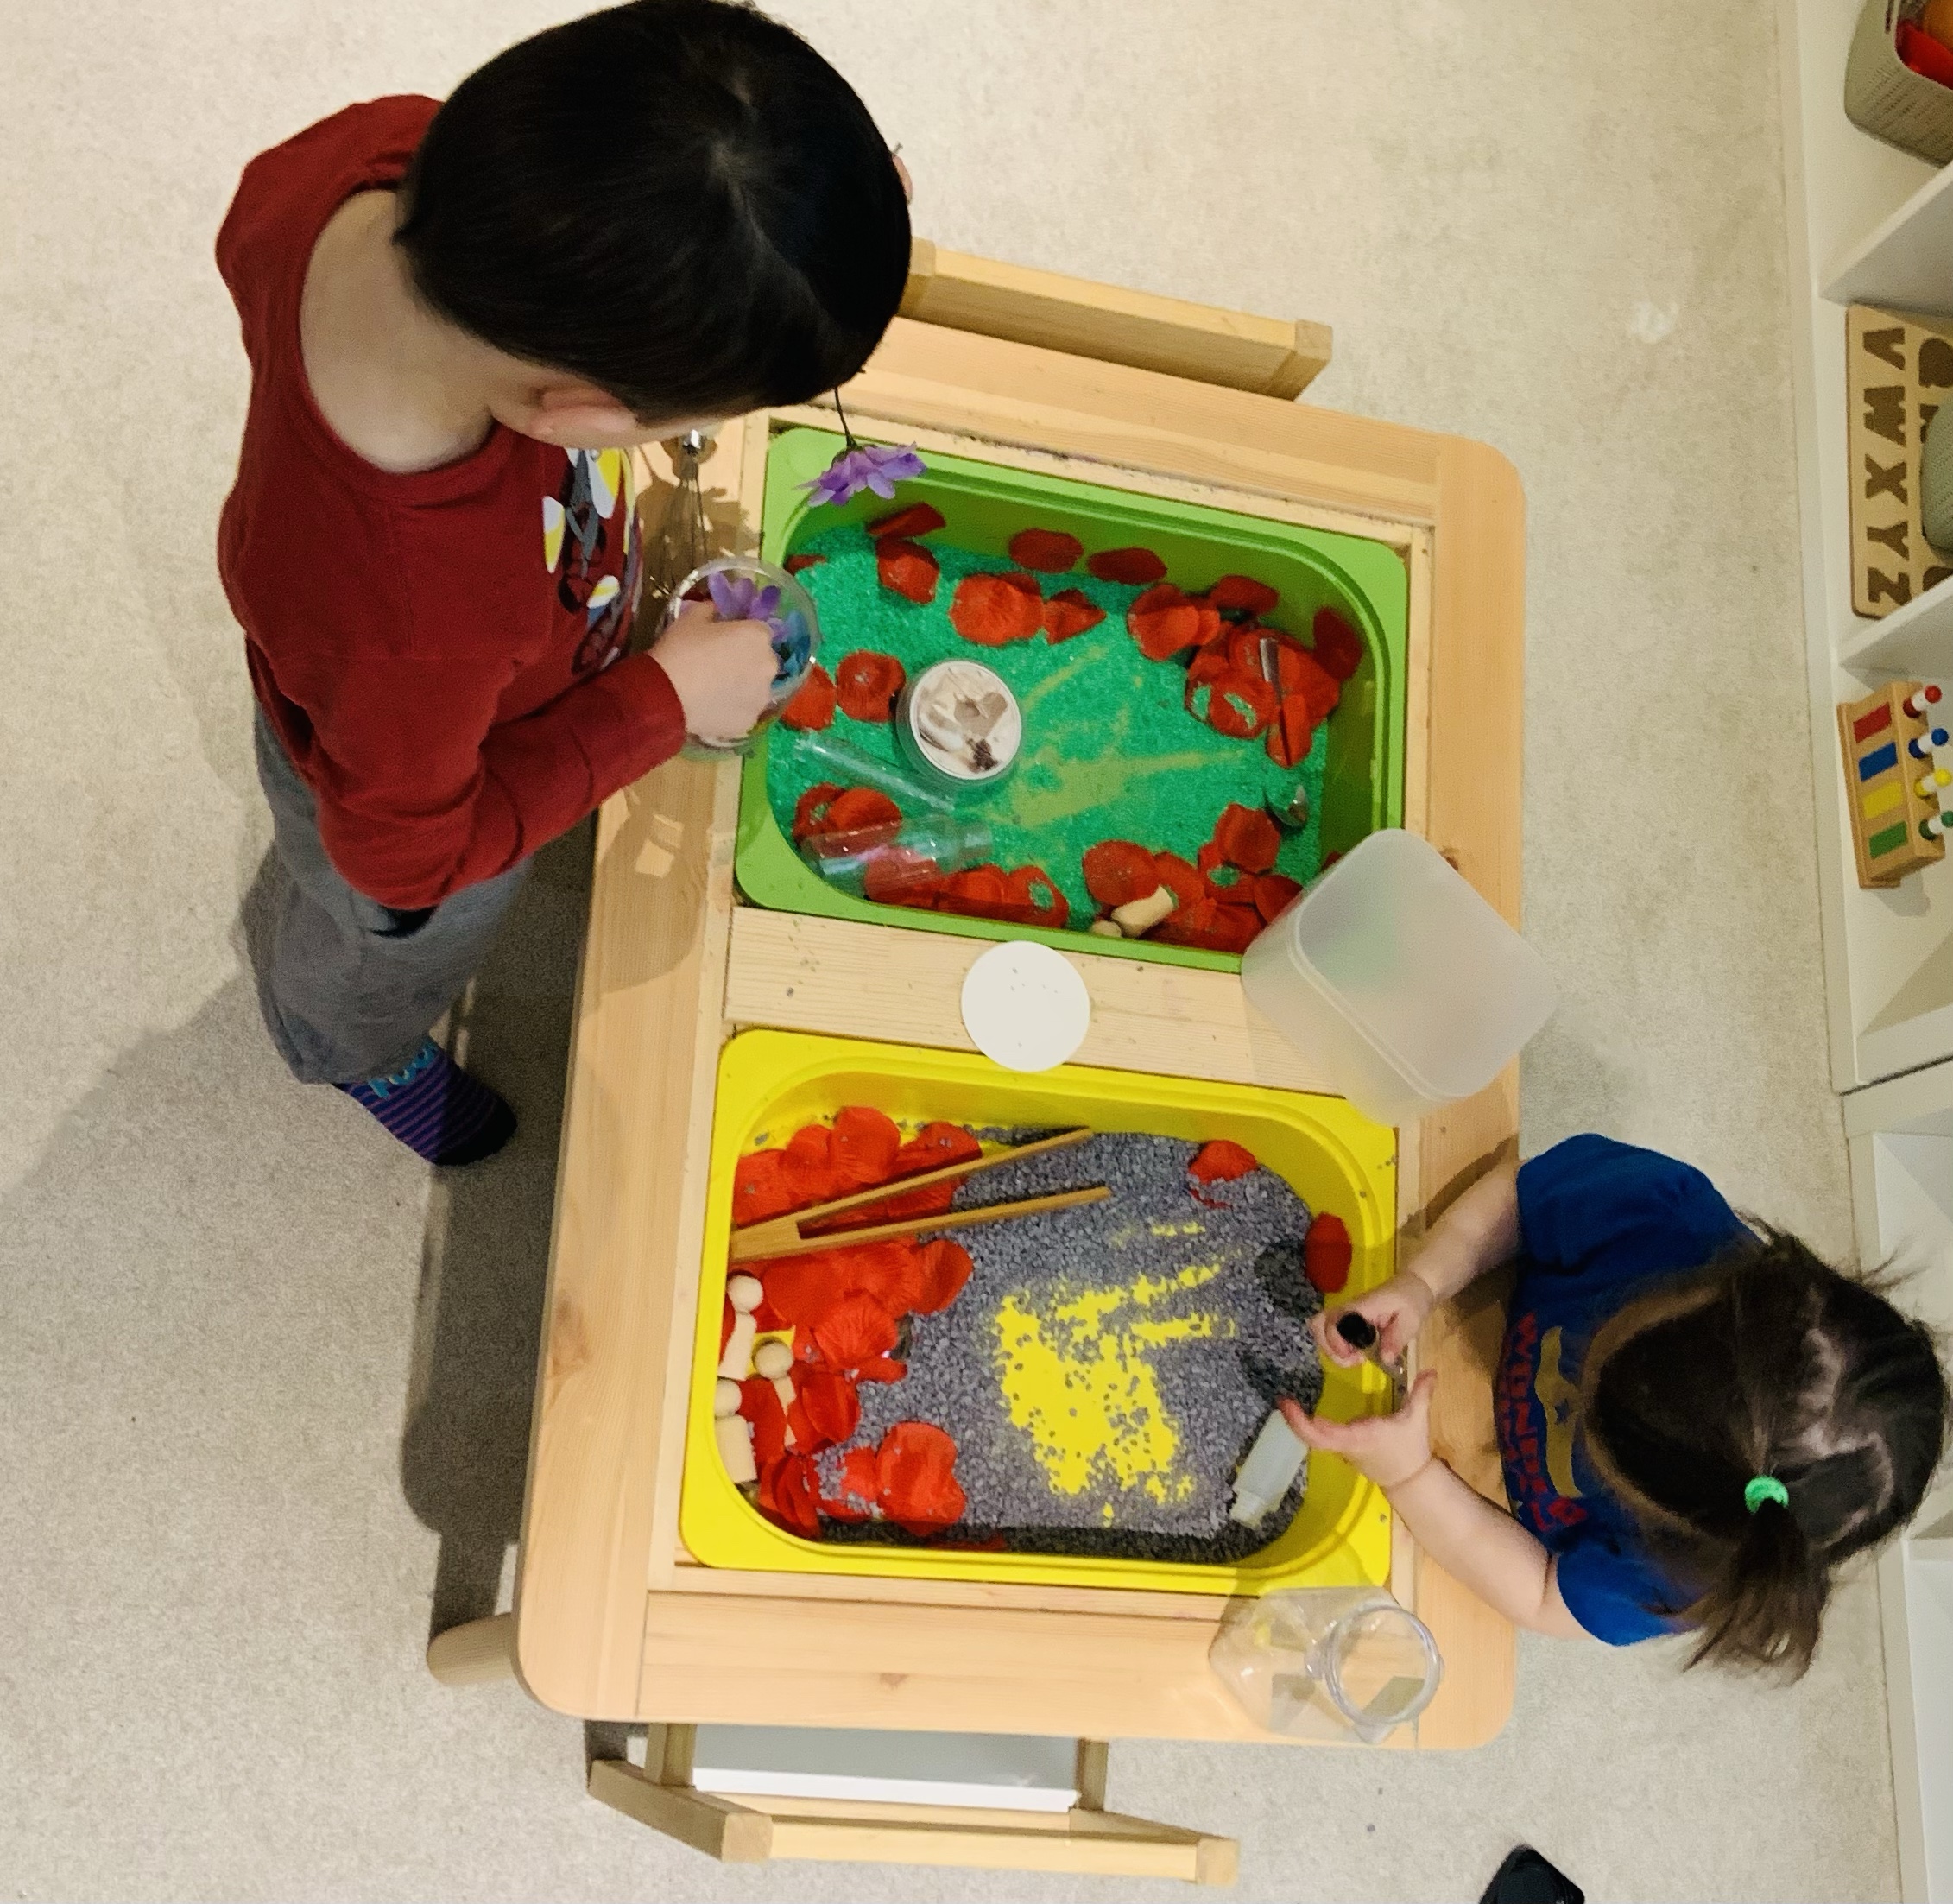
While scrolling through social media, specifically in parenting groups I have noticed that people often get stumped on sensory bins. One common question in my Montessori groups is “Is this Montessori aligned?” The answer is no, it is not a Montessori aligned activity. There is generally not an isolation of a concept for a child to be learning, there is no element of self correction within the activity, and it generally appeals to multiple senses at a time. All that being said there is a place for sensory bins in Montessori homes, even if it is not found in Montessori classrooms. The home does not need to replicate the classroom, the classroom actually attempts to replicate a home environment in many ways! I believe that sensory bins are lovely additions to any home regardless of the adults approach to education and parenting. Another sticking point seems to be what to put in sensory bins. I see people do a couple of the obvious bins like rice and water and then come looking for ideas on facebook.

First off I want to provide a recipe for a great sensory bin. You need three things. 

  1. A filler
  2. Tools or Figures
  3. A bin to put them in 

That is really all you need! I will provide three lists below for each category to give you plenty of ideas for your sensory bins at home. 

Dry Fillers

  1. Sand
  2. Gravel
  3. Large rocks
  4. Soil
  5. Shredded paper
  6. Rolled up balls of tinfoil
  7. Tissue Paper
  8. Pipe cleaners
  9. Pom Poms
  10. Feathers
  11. Cotton Balls
  12. Twigs
  13. Leaves
  14. Pine Cones
  15. Grass
  16. Fake Flowers
  17. Real Flowers
  18. Beads
  19. Scraps of fabric
  20. Tiny wood or foam block

Wet Fillers

  1. Water
  2. Dyed Water
  3. Soap in Water
  4. Shaving Cream
  5. Whipped Cream
  6. Oobleck
  7. Cocoa powder with water
  8. Jello
  9. Ice ( I included it here because of how quickly it melts!)
  10. Snow

Many of the dry fillers can be combined with the wet fillers to get all new fillers! Just keep an eye on things like beans and seeds as they may sprout. I have accidentally started bean plants in my classrooms more than once!

Bins

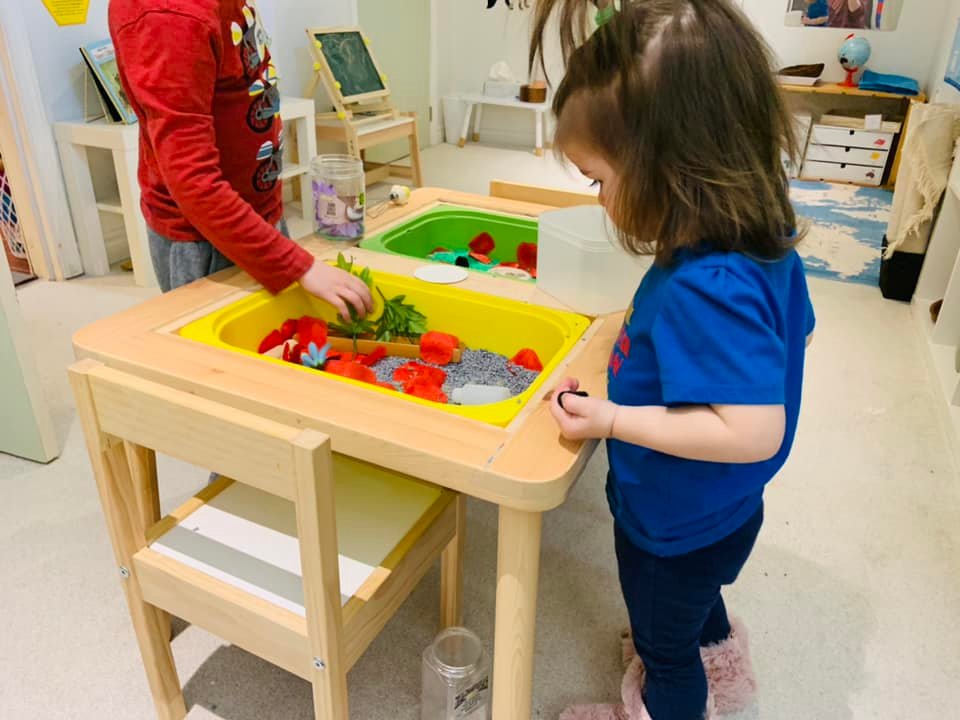
You do not need the elusive Ikea Flisat Table for sensory play. You just need a container of any kind to hold your fillers. It could be a plastic tub from the dollar store, a large stock pot, a couple Tupperware containers, your bathtub (depending on the filler), a shoebox or cardboard box for dry fillers, a big bowl, even a playpen or kiddie pool. There are some other options out there for sensory tables such as Tuff Trays and water tables as well. Be creative and look at what you have on hand, you likely already have everything you need to set up an amazing sensory bin for your little ones.

Edible Fillers

  1. Rice
  2. Dyed Rice
  3. Pasta
  4. Dyed Pasta
  5. Oats
  6. Flour
  7. Cornstarch
  8. Cocoa Power
  9. Cereal
  10. Crushed Cereal
  11. Popcorn Kernels
  12. Dry Beans
  13. Lentils
  14. Barley
  15. Seed Mix

Note that while these are all technically edible many of them should not be consumed raw for health reasons. Flour, lentils, beans and kernels especially should be supervised closely to avoid consumption.

Tools and Figures

  1. Scoops
  2. Spoons
  3. Shovels
  4. Containers
  5. Cups
  6. Lids
  7. Bowls
  8. Tongs
  9. Ladles
  10. Strainers
  11. Spatulas
  12. Mixing Spoons
  13. Toy Vehicles
  14. Animal figurines
  15. Small dolls
  16. Baby Dolls
  17. Play food and utensils
  18. Blocks
  19. Toy tools
  20. Paintbrushes
  21. Stuffed Animals
  22. Dinosaur figurines
  23. Peg People
  24. Small Bags (fabric, or coin purse type thing)
  25. Straws
  26. Funnels
  27. Bottles
  28. Flower pots
  29. Small doll houses
  30. Lego and lego figures ( This can also be a filler combined with another tool)
  31. Cupcake liners
  32. Coffee filters

So many toys and household tools can be used in sensory bins. As long as it is safe, and washable then it is likely something you can use!

Here is the beauty of sensory bins. You can combine items from these different lists and have so many varieties that you likely will never cycle through them all. Switching one element can make the activity entirely different. I want to use shaving cream as an example. Shaving cream and food coloring with paper and paintbrushes can be used to make shaving cream art. Shaving cream with small animal figures and scoops can be used for an animal hunt. Shaving cream in the bathtub can be used to paint oneself. Shaving cream with vehicles becomes a carwash. Shaving cream with cupcake liners and various kitchen tools becomes an invitation to play bakery. Colored shaving cream in multiple small containers becomes a science experiment in color mixing. Shaving cream of one color in a large tub with a bottle of water becomes an experiment in how substances change. The opportunities are nearly endless! I will be doing a post in the near future about the other major element of sensory bin play. Mess containment and clean up.