Climb Baby Climb

Climb Baby Climb

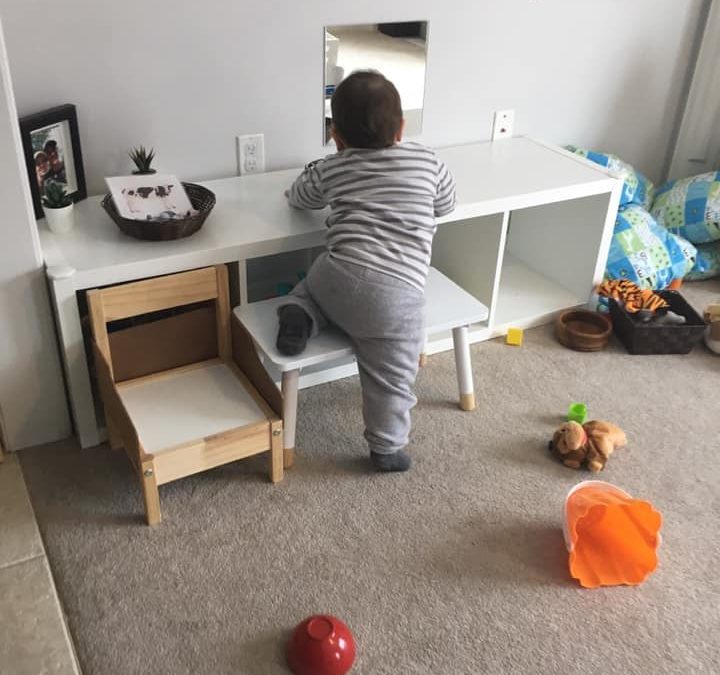
When thinking about toddlers I find the first place my mind goes is to their need to move. Even in calling them toddlers it brings the image of tiny people toddling around. They very quickly move past toddling though and move right into running, climbing, and testing their body’s limits. Toddlers need to move. They need to see what they are capable of, and they have spend plenty of time as infants observing while not yet mobile. Now that they have figured out movement it is not uncommon for them to move during all their waking hours (sometimes while they sleep as well)! Toddlers need to climb and often they climb places that as adults we deem inappropriate or unsafe. From the toddlers perspective there is no such thing! Asking them not to climb generally will not work, their bodies are telling them they need to and those impulses are much stronger than their ability to follow direction. Even when redirected to another activity they will generally return to the climbing when the impulse strikes. The obvious solution is to create safe climbing options for your toddler. Many homes purchase indoor climbers, pikler triangles of play couches for this purpose. I will be reviewing some of these products in the near future. It is not necessary to buy special climbing equipment but it is a simple answer to the problem of unsafe climbing. Another easier solution is to find climbing opportunities in your home. Climb stools, stairs, piles of couch cushions, beds. If weather allows visit playgrounds, hike, climb hills, find large rocks or fallen trees to climb and balance on. As often as possible when you witness unsafe or inappropriate climbing acknowledge your child’s perspective, and offer them a climbing alternative you are happy with them exploring. The inappropriate climbing will stop when they know they will have the opportunity to meet that need and that you will be there to understand them, and help them. 
Sand Tray DIY

Sand Tray DIY

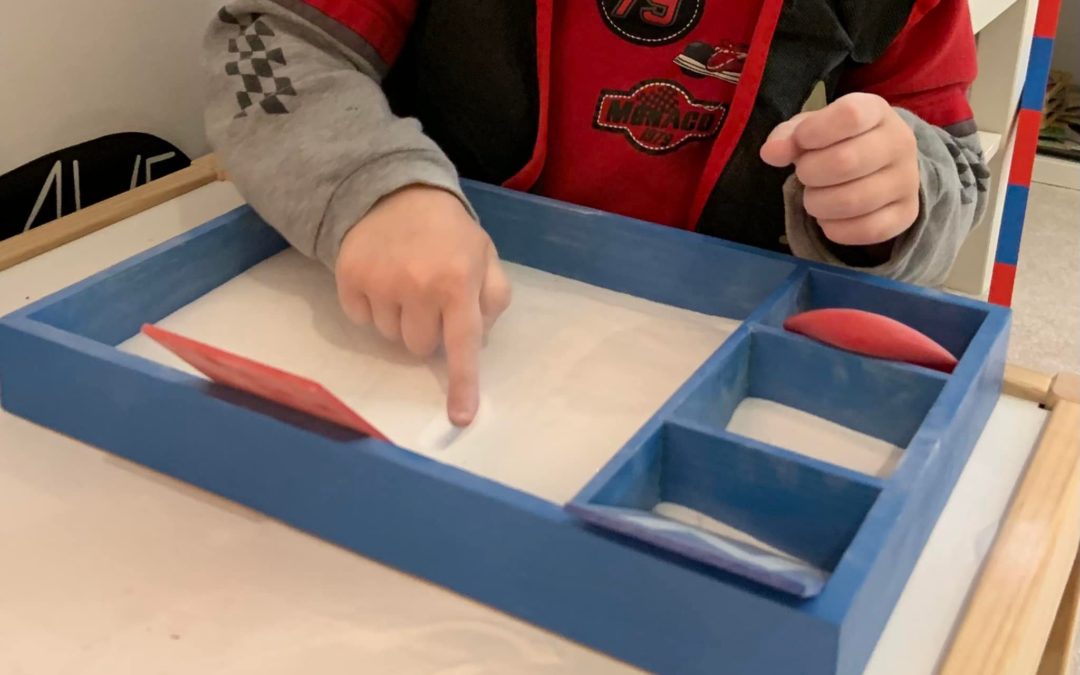
This DIY was so easy to make that I considered not including it here, but my children use it literally every day. All you need is a box of some kind. It could be a wooden box (again I am using a Melissa and Doug box from an old toy), or even a Tupperware container. Then you need a filler. It could be salt, sand or even gravel to change it up. That is it! If you like you can throw in a tool of some sort to help the children flatten the filler out but they can just as easily give the container a little shake to reset the activity. With this DIY children can practice writing lines, numbers and letters without needing to use a pencil. For younger children whose hands have not developed the strength and control needed to write effectively with a pencil this activity can give them the chance to write without tiring out their hands. It is also a very meditative experience with little pressure for the child as the marks they make are so temporary. All it takes is a shake and they have a fresh start! Couple this activity with sand paper letters or numbers to give the children the opportunity to practice tracing them before attempting to write them independently.  

Parts of a Frog DIY

Parts of a Frog DIY

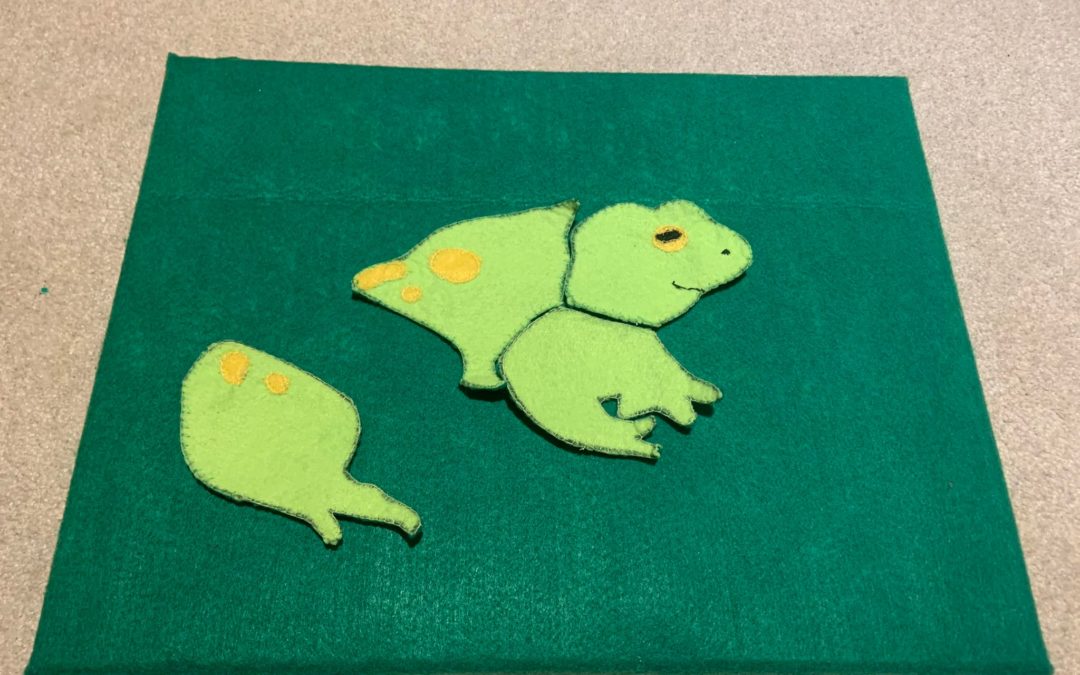
If you have read any of my other DIY posts then you may have noticed that I use felt for a lot of activities. Before I purchased my parts of an animal zoology puzzles I was wracking my brain trying to figure out how to make them myself. I am not really a wood worker, and I do not have a cricut machine so I needed a way to make them with simpler materials. I considered using cardboard or foam board but could not think of how to make precise enough pieces that would not be easily damaged. So I turned to my favorite material once again, felt. There are plenty of free outlines of frogs that I looked through online before settling on an outline that suited this activity best. I made my pattern and cut out the pieces to make a single layer puzzle. It was very flimsy and did not feel great to me, it was not the beautiful puzzle I had envisioned. I decided to make it double layered and sew the pieces together. It work much better this way, and my children adore it. Even though we ended up getting our own zoology puzzle set later on I find that Mister Man still enjoys using this handmade version fairly often. 

Clothesline DIY

Clothesline DIY

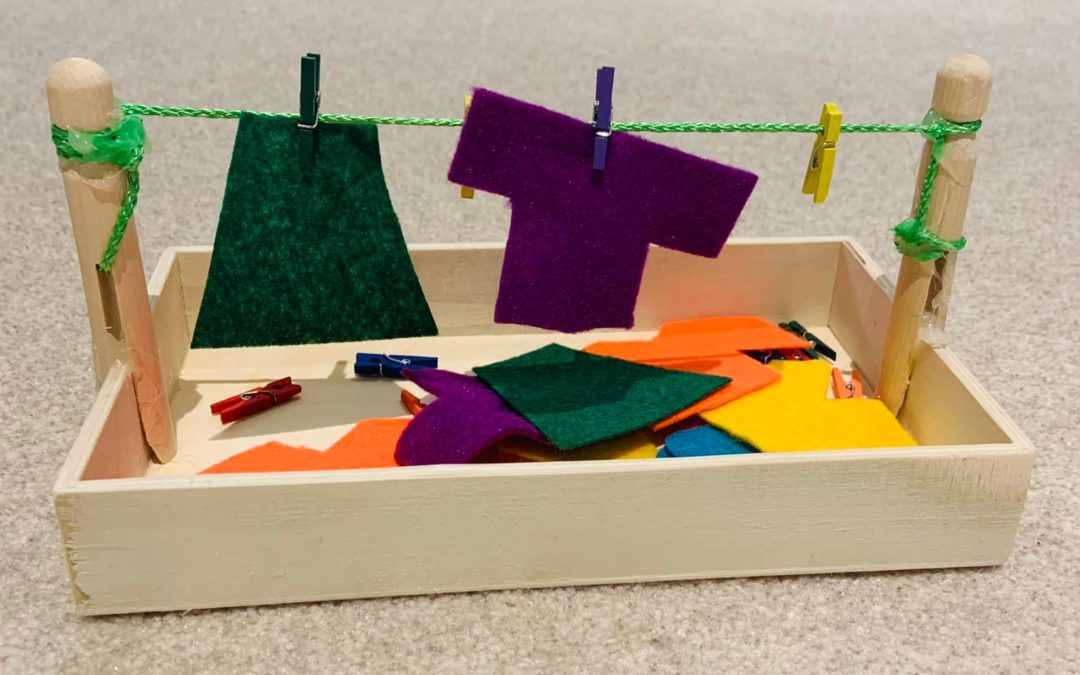
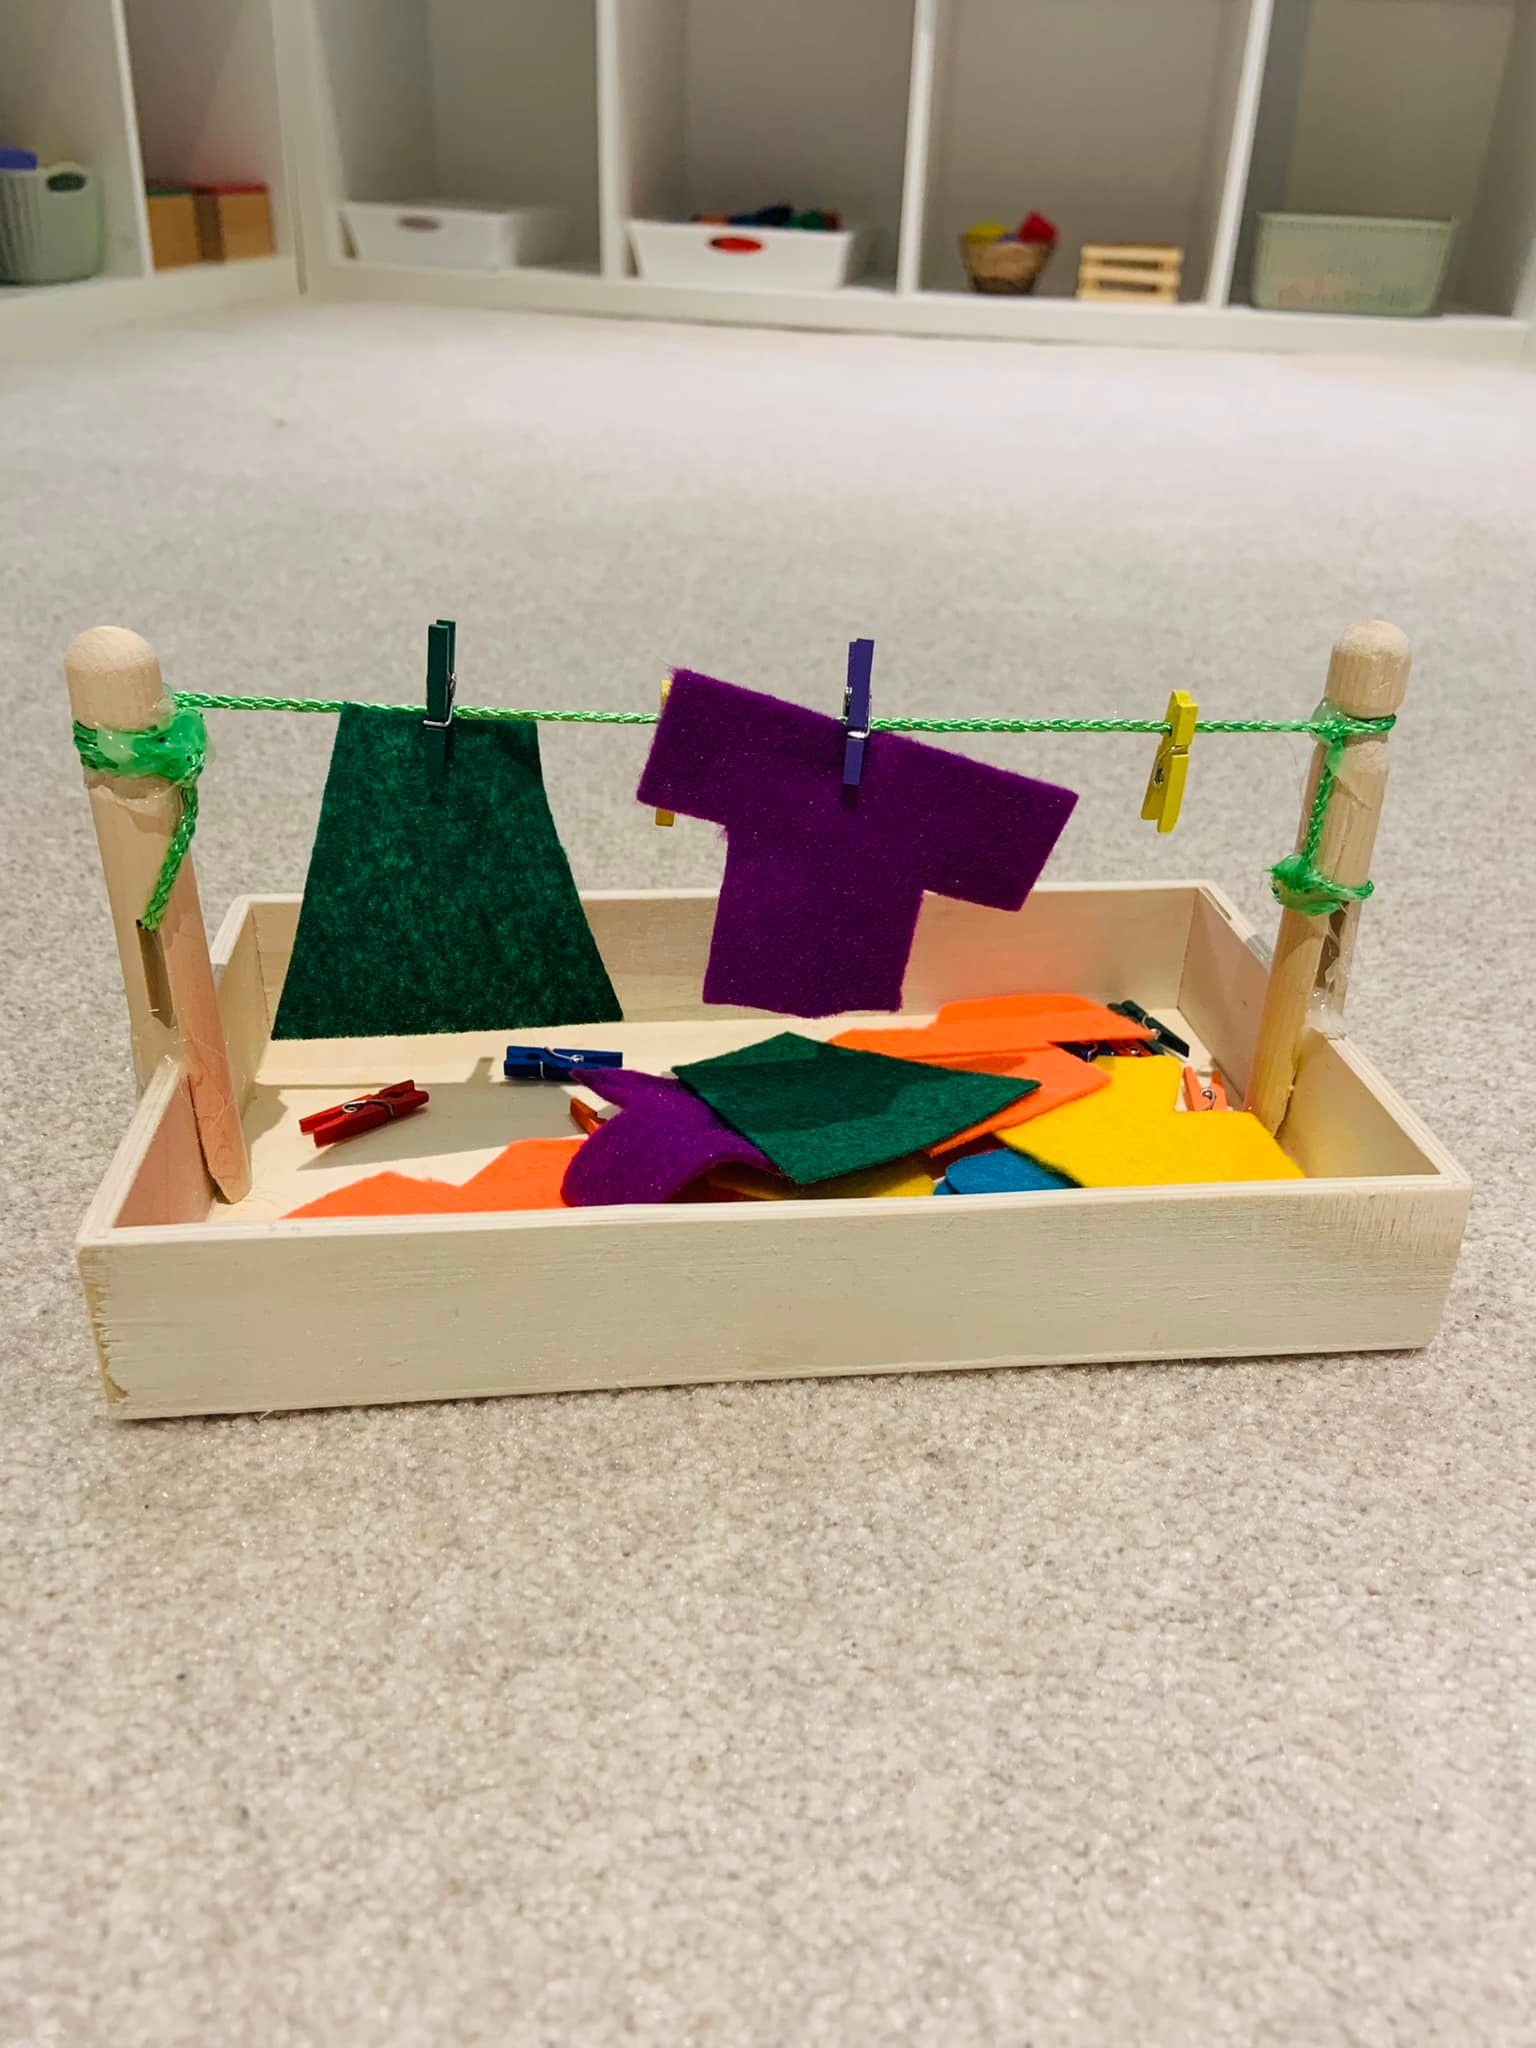
I had some small pieces of scrap felt and was about to toss them when I realized they could make the perfect teeny tiny clothes for a clothesline activity! I found a couple clothes pegs, string, and a spare box I had on hand (I always save Melissa and doug boxes from crafts and toys). It took under ten minutes to gather my supplies, hot glue gun the pieces together and cut out my little clothing articles. That was it! It was that easy to throw together an activity that focuses on fine motor development, hand strength. and if you want color sorting. 

Color Sort Mat

Color Sort Mat

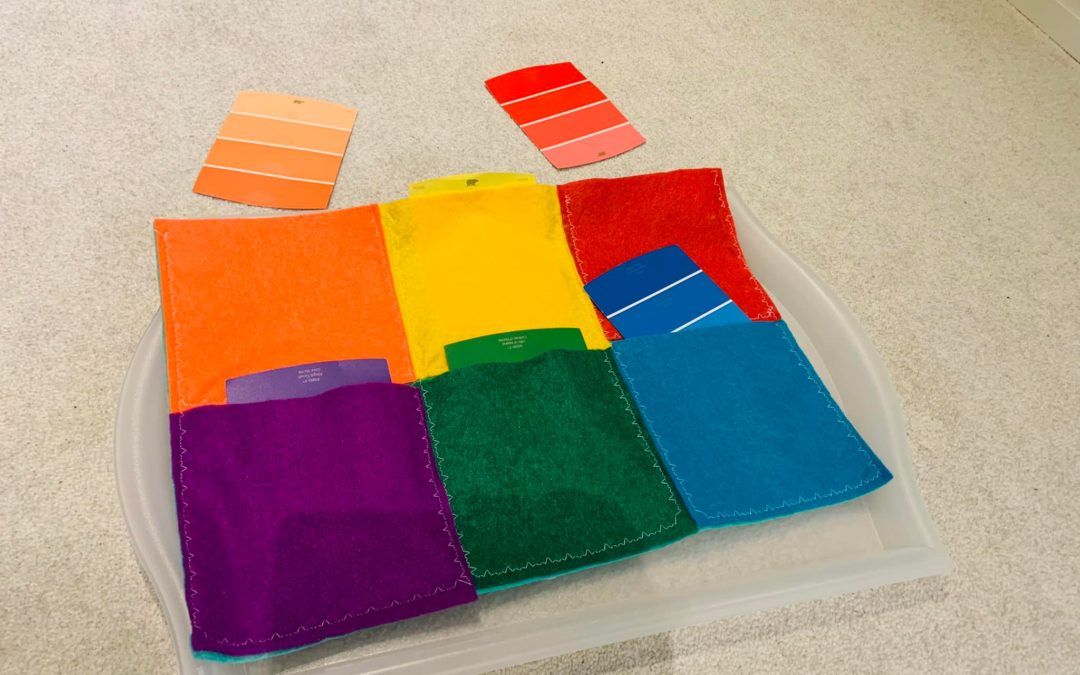
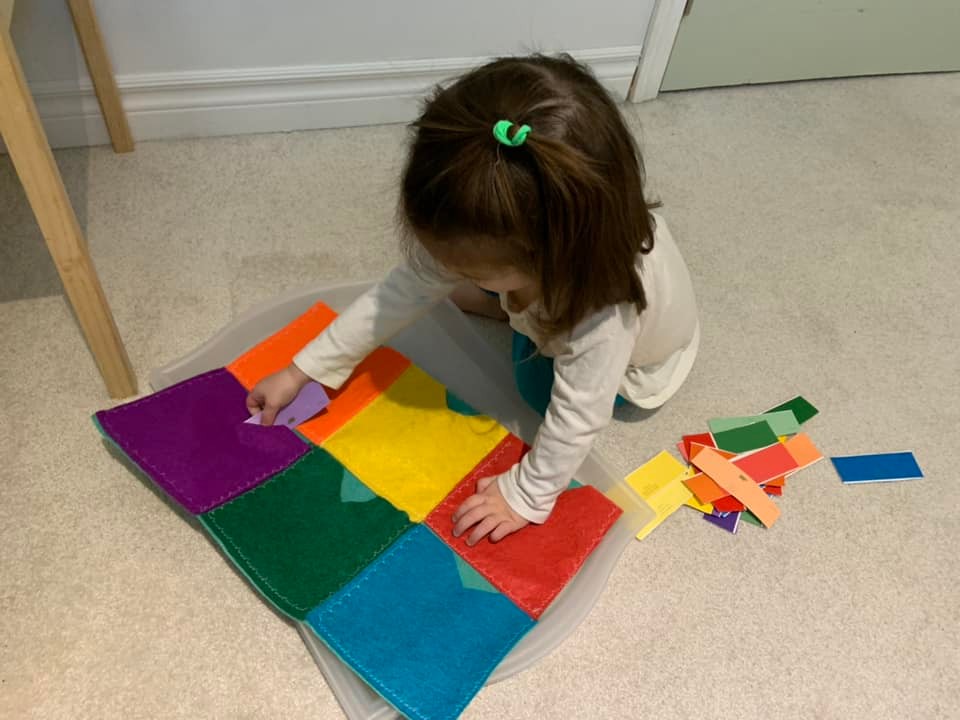
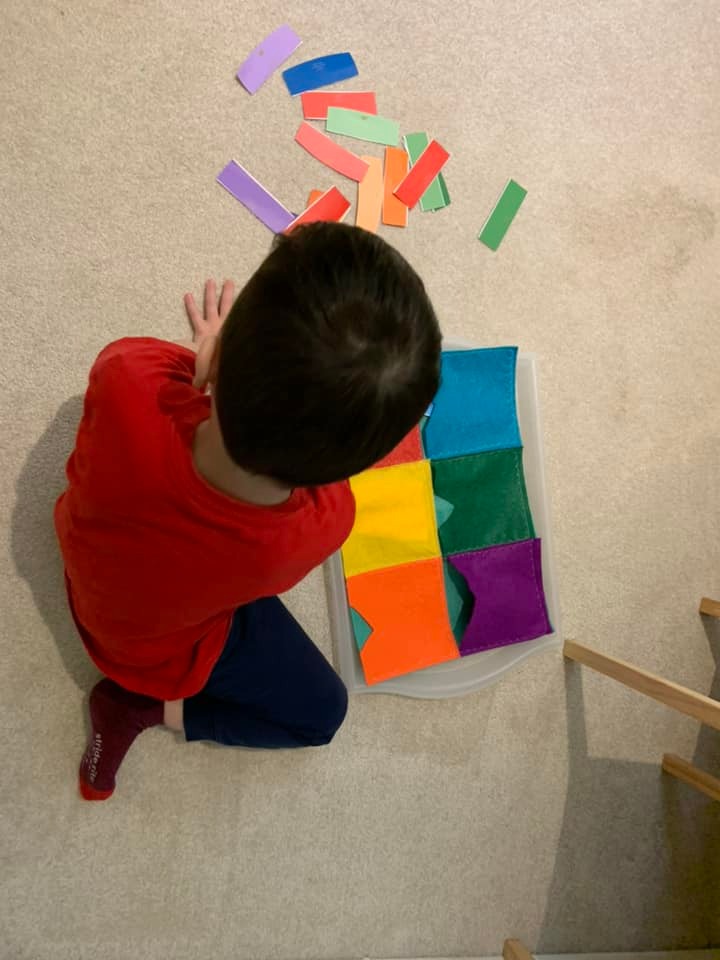
This activity is for Little Miss to satisfy her love of color sorting and pockets. While it does not entirely isolate one concept I find it is simple enough for her to engage with and I made it to serve multiple purposes as this is my favorite kind of DIY. The pockets allow it to be used as a fine motor activity, or as a hide away game. It can also be used as a simple sorting mat without the use of the pockets which is how we started with this material. I presented the material with identical color objects and once that was mastered I introduced the paint swatches which have a gradient. My next plan when the interest begins to wane is to cut the swatches into four separating each gradient and increasing the difficulty of the activity. This material took me under an hour to complete and was completely free using scraps of felt I had on hand. Making engaging and challenging  activities for toddlers does not need to be pricey or all that difficult!

Updated for Complexity

A great part about DIY materials is that you can usually increase the complexity of the activity with very few changes. I made this activity more complex for each of my children to make use out of with just a few tweaks. For Little Miss one I added two of each color popsicle sticks to the activity. The idea is the same, fit the sticks in the matching pockets but they take a little more precision to maneuver and the colors are not precise matches. For Mr Man who is four now I cut the swatches into four pieces of different shades of the colors. Both children are enjoying the activity and I can leave both levels of difficulty available to them on the shelf.